
There are still businesses out there running physical workloads in their enterprise datacenters. This can be for various reasons. It could be due to some requirement for a phsyical server to plug some sort of interface into or some physical activation dongle. It could be due to some ultra high-end performance requirement that rules out any type of hypervisor running on the hardware. However, due to software upgrades, or other changes in the environment, you may have physical servers that could now potentially be P2V’ed into a virtual machine that would reap tremendous benefits over running on top of physical hardware. With the introduction of NAKIVO’s physical Windows Server backup support with NAKIVO Backup & Replication v9.0, you now have the ability to easily P2V physical Windows Servers to VMs. Let’s take a look and see how.
NAKIVO Backup Solution in Minutes
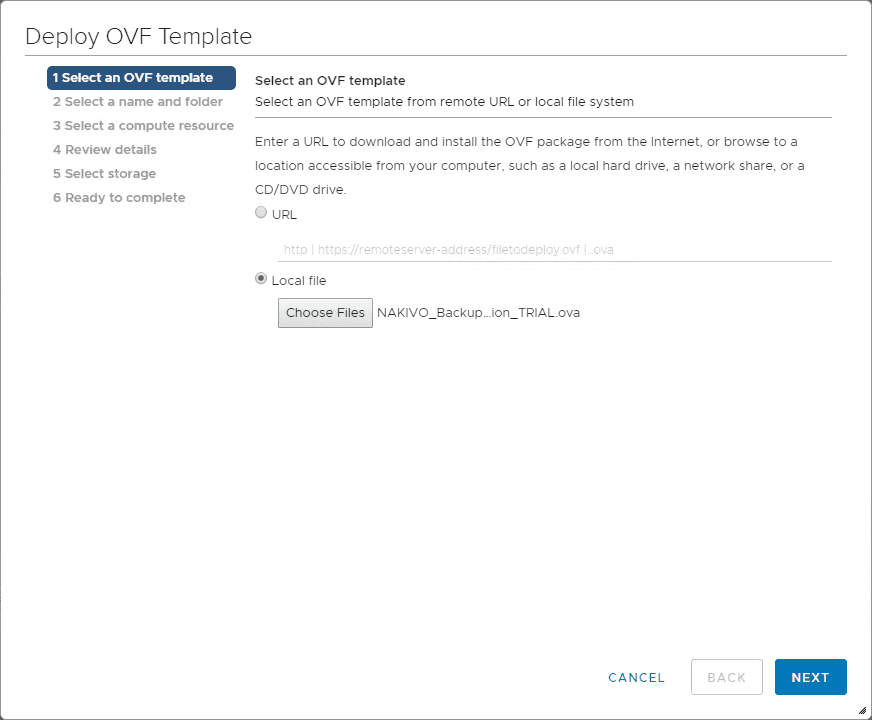
NAKIVO provides arguably one of the easiest backups solution deployments on the market today. With a simple deployment of an OVA template file, you can literally be up and running with a fully-functional backup appliance that is ready to start backing up your business-critical VMs. Pretty cool!
I really like this all-in-one solution for getting up and running quickly and certainly in edge environments, this helps to simplify the approach of BC/DR. Using the very standard and common OVA/OVF deployment process, you essentially pick the NAKIVO appliance and deploy it using settings you specify.
After deploying the appliance, you simply need to configure the appliance name, IP address, and create your admin login to begin adding inventory.
Adding a Physical Windows Server to the NAKIVO Backup Inventory
The first step to performing a P2V operation of a phsical Windows Server to a virtual machine is to add the physical Windows Server to the NAKIVO Backup & Replication inventory. Adding the server to the NAKIVO inventory involves pointing the NAKIVO appliance to the physical Windows Server and installing a transporter agent on the physical Windows Server.
Choose Inventory > Physical servers

Add the new Microsoft Windows Servers by adding a display name, hostname or IP, and a username and password to authenticate to the Windows Server.

The NAKIVO transporter agent begins installing.
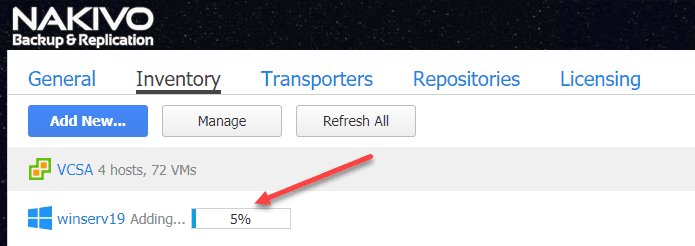
After installation, the physical Windows Server will be listed in the Inventory of the NAKIVO appliance just like your vCenter Server, Hyper-V Cluster, etc.

Now that the physical Windows Server is in NAKIVO inventory, we can create a Physical server backup job.
Create a New Physical Windows Server Backup
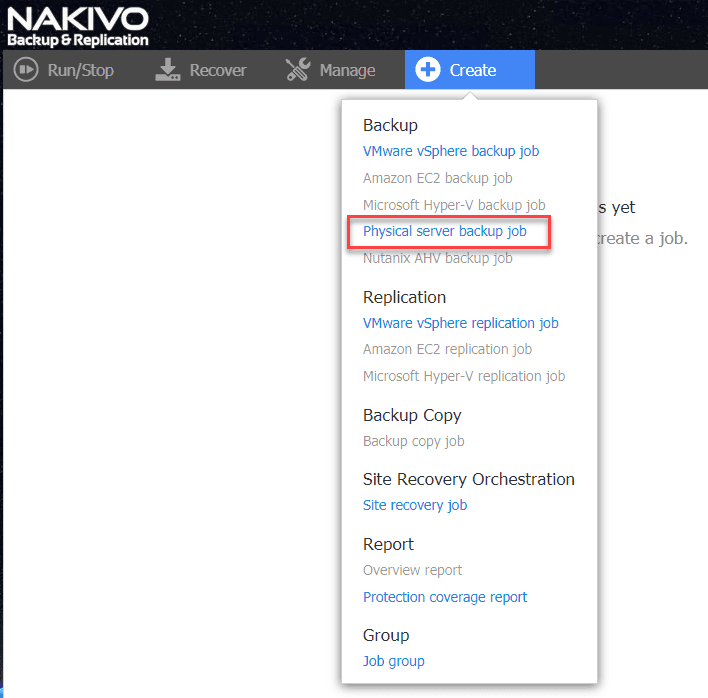
To perform the P2V operation, we need to get a good backup of the physical server. The backup of the physical server using NAKIVO captures a backup of the hard disk of the physical server. To P2V the server, you then restore the disk as a virtual disk export as we will see later. First, let’s create and run the backup job of the physical server. Navigate to Create > Physical server backup job.
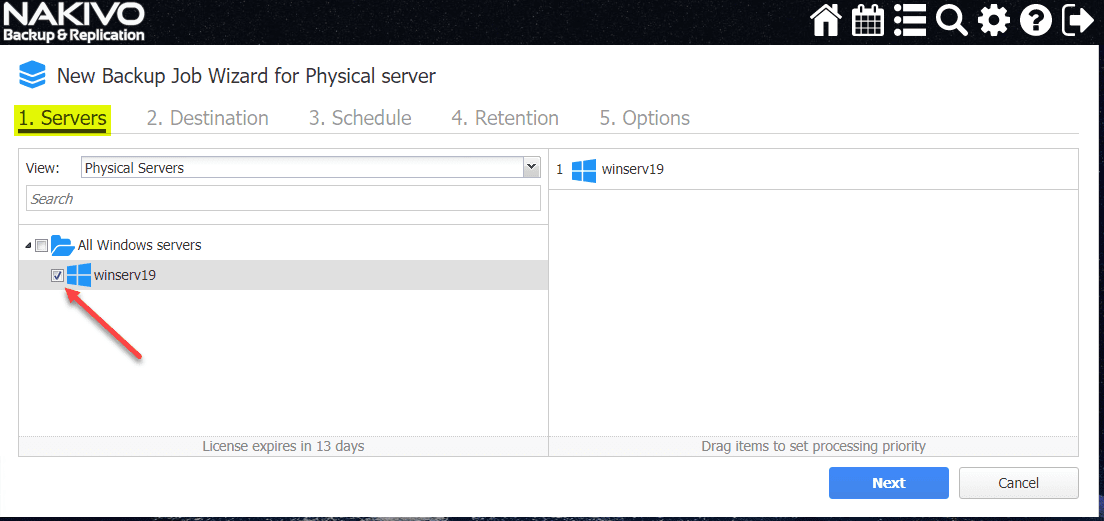
This launches the New Backup Job Wizard for Physical server. This is a five step process to backup the physical server. The first step of the process is to choose the physical server from inventory that you want to create a backup job for. Below, we see the physical server that we have added to inventory. Place a checkbox next to the physical server in inventory.
Choose the Destination for the backup of the physical server. This will default to the Onboard repositoryon the NAKIVO appliance.

On step 3, you can Schedule to run the backup regularly if you want to capture backups for a time before P2V’ing the server.

On the Retention screen, select how many restore points you want to keep on disk for the server.

Finally, on the Options screen, there are several options that can be configured for the backup job. These include app-aware mode, change tracking, network acceleration, encryption, pre and post actions, truncating logs and data transfer bandwidth throttling.

Finally select either the Finish button (finishes creating the job but doesn’t run the job. Or, select the Finish & Run button that configures the job and automatically runs the job for the first time after configuring. You will see a job scope screen where you can choose to run all physical server jobs, or select the job you want to run. Here we are selecting the job we want to run. Place a check by the box. Click the Run button.

The job will run and should finish successfully.

Now that we have a good backup of the physical server, we can export the physical server disk as a virtual disk that we can then use as the basis of our new virtual machine.
Easily P2V Physical Windows Servers to VMs with NAKIVO
Finally, we are at the point of P2V’ing the physical server to a virtual machine. There will be two parts to Easily P2V Physical Windows Servers to VMs with NAKIVO. This will include:
- Exporting the physical disk as a virtual machine disk for use with the chosen hypervisor
- Creating a new virtual machine in the hypervisor and using the exported virtual hard disk as the VM hard disk file
Exporting the Physical Windows Server Disk as a Virtual Disk
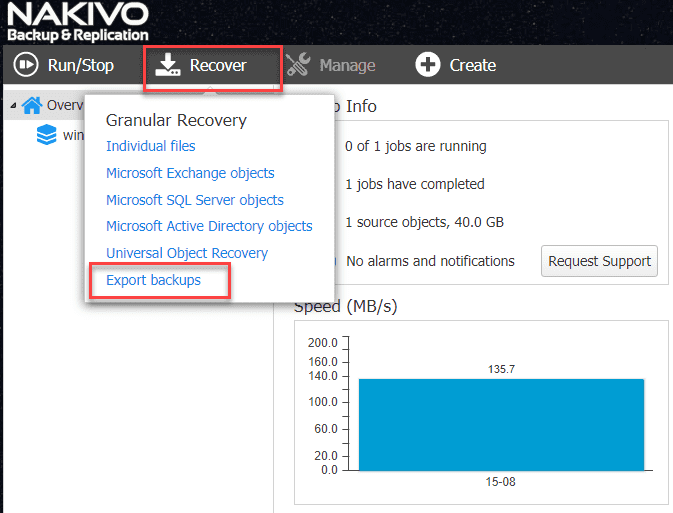
The export process of the physical disk is found under the Recover menu of the NAKIVO interface. Select Recover > Export Backups.
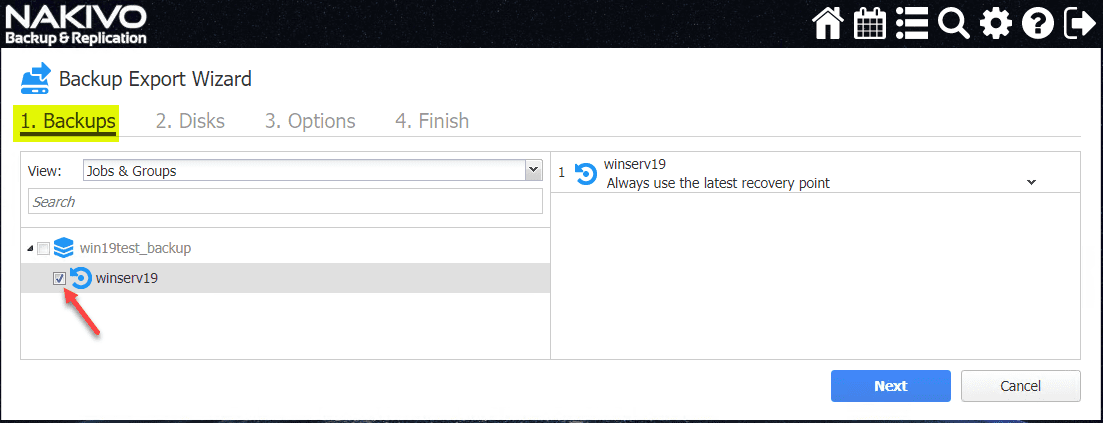
The Backup Export Wizard process begins. The first step is choosing the Backups to export. You will see the physical server backups you have listed to choose from.
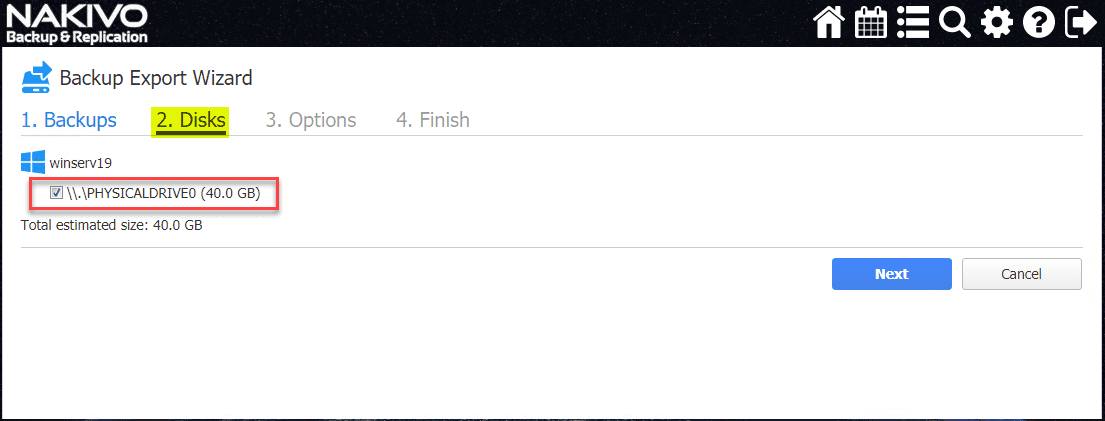
Select the Disks that you want to export. If you have multiple disks on a physical server, you can choose to only export a subset of those disks if you want.
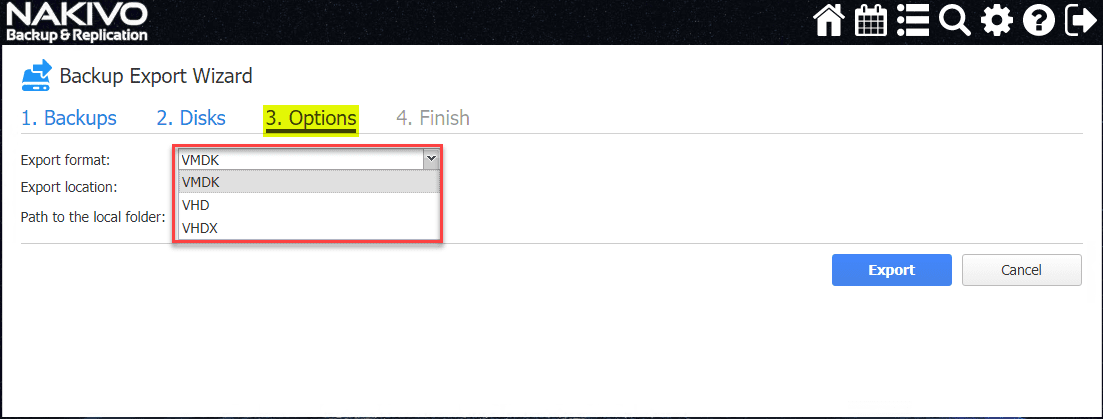
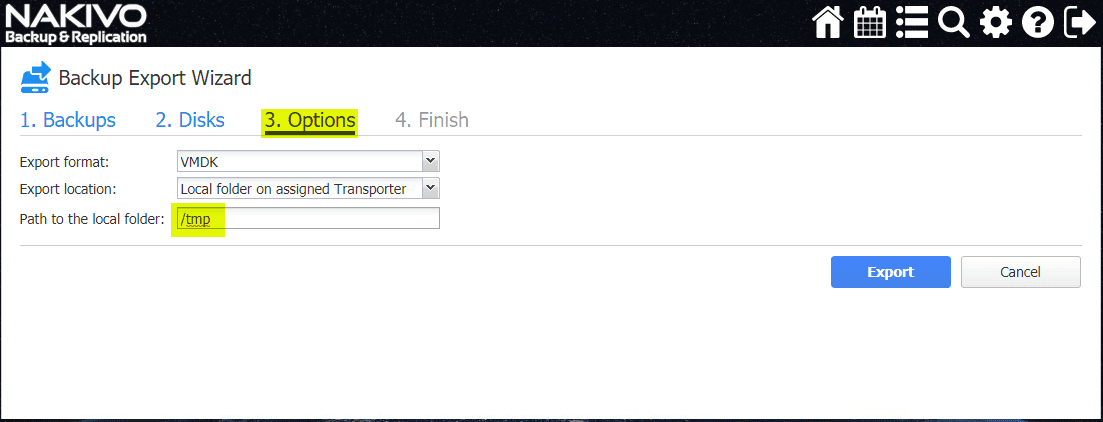
NAKIVO allows exporting in the format of VMDK, VHD, and VHDX.
Choose the export folder you want to use. Since I am using the NAKIVO appliance, I am going to just export the files to a local folder on assigned Transporter.

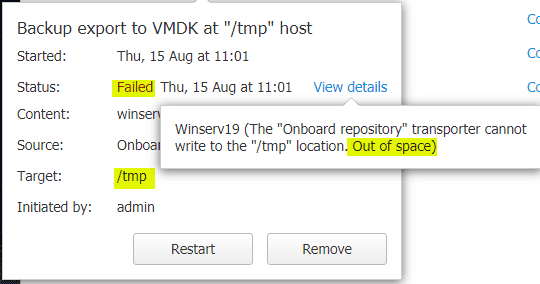
Be careful that the directory you choose has enough space. I first tried simply using the /tmp directory, however, this failed due to lack of disk space.
Error in the Activities dashboard regarding a lack of space for the export.
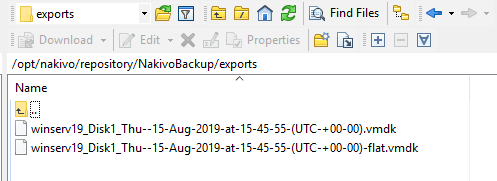
I decided to use the directory that houses the NAKIVO backup repository since I know it has plent of space. This is located in /opt/nakivo/repository/NakivoBackup/.
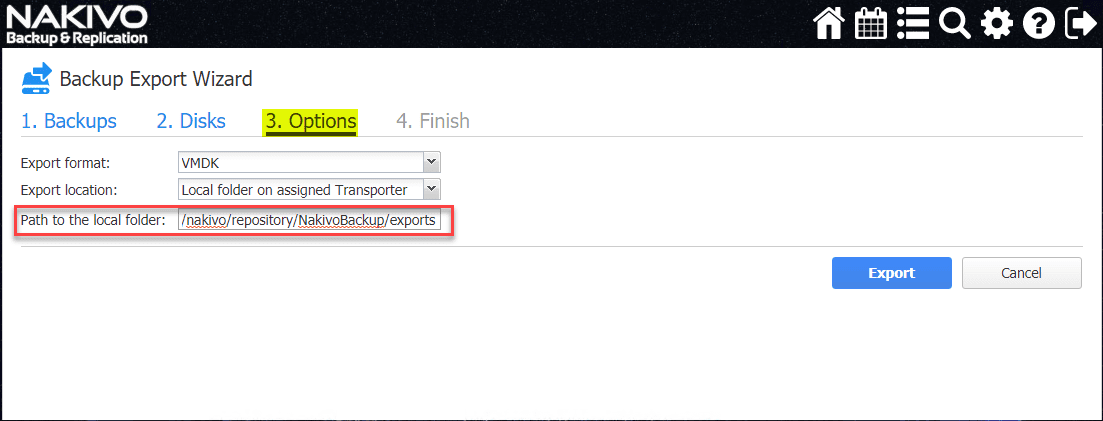
Finish out the wizard.
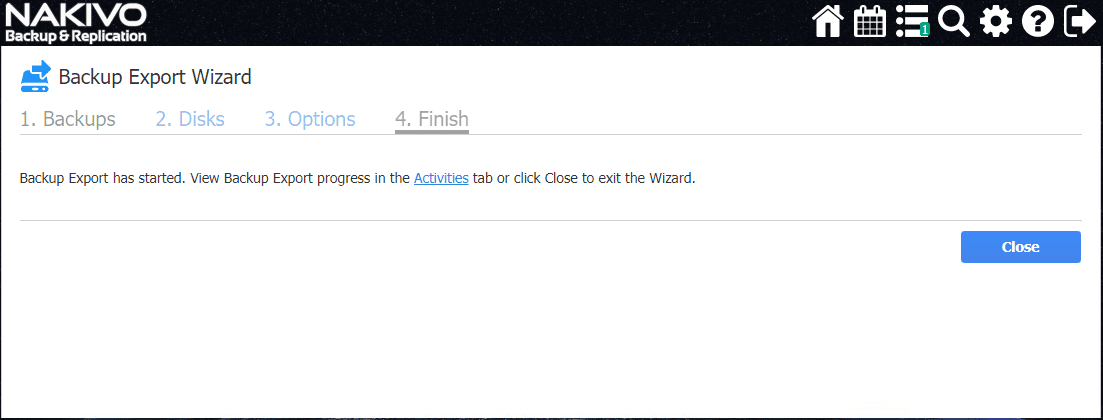
The NAKIVO repository directory worked out just fine. As you can see, for VMware disk exports, you will see the resulting pair of VMDK files.
I didn’t wan’t to have to double hop this to a workstation and then to the ESXi host. So, I simply scp’ed it from the NAKIVO appliance to the ESXi host directly. You can use the command:
- scp -r <your local export folder> root@<your ESXi IP/host>:/vmfs/volumes/<your datastore>
You will be prompted for a password for root on the ESXi host, and then the copy will begin.
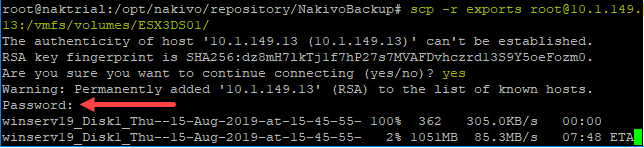
The exported VMDK files are successfully transferred over to the ESXi host.

Now, we can create a new virtual machine using the disk files.
Create a New Virtual Machine Using the Exported Physical Server Disk from NAKIVO
The final step of the journey to Easily P2V Physical Windows Servers to VMs with NAKIVO is creating a new virtual machine using the exported VMDK that was exported from the NAKIVO Recovery process. We copied over the exported disk to the ESXi host. Now we just need to create a virtual machine to use it.
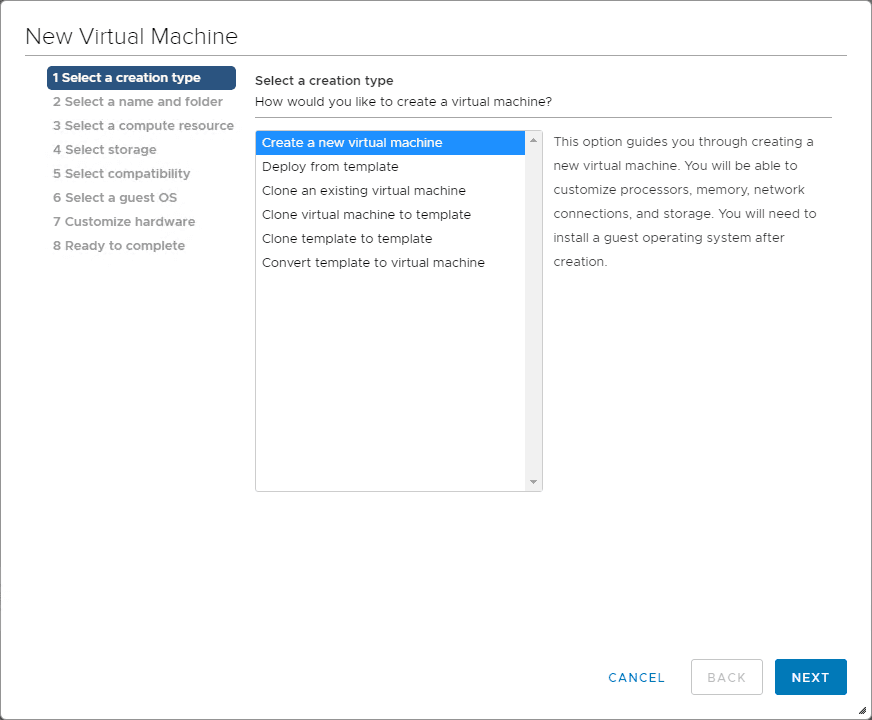
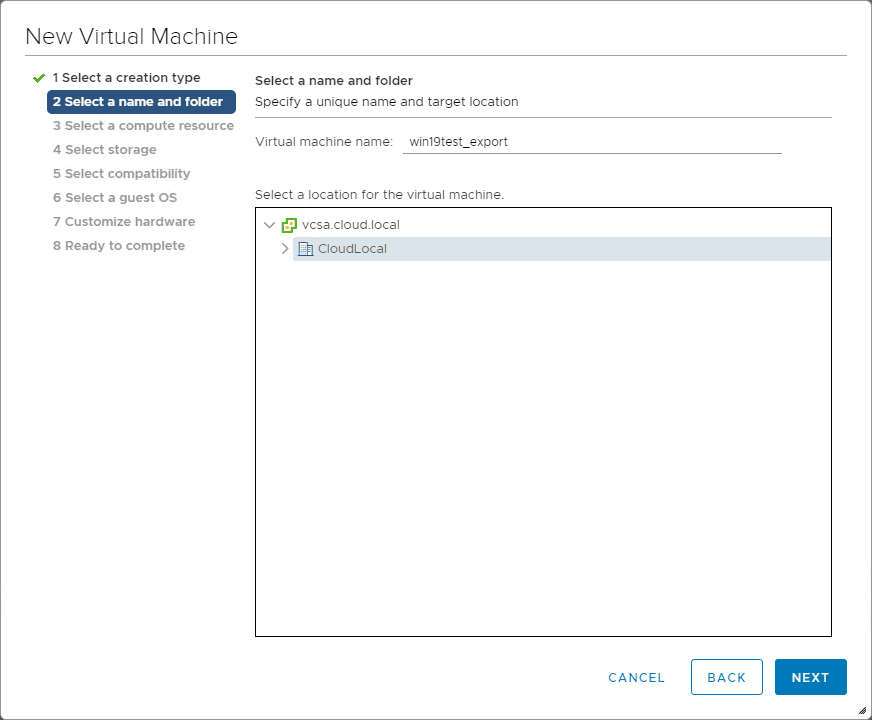
Normal VM wizard….choose the name and folder.
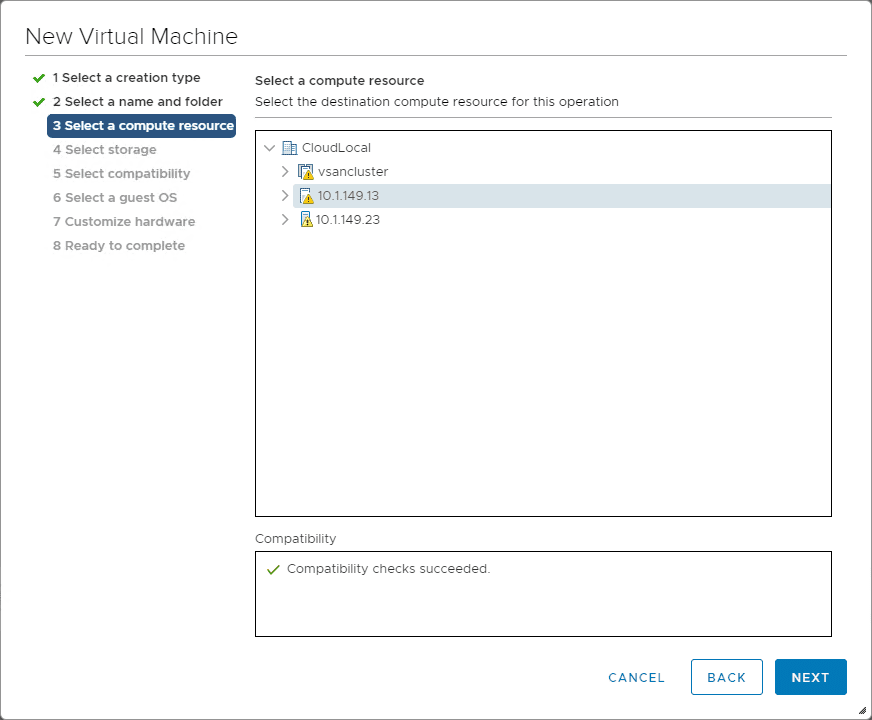
Select the host…
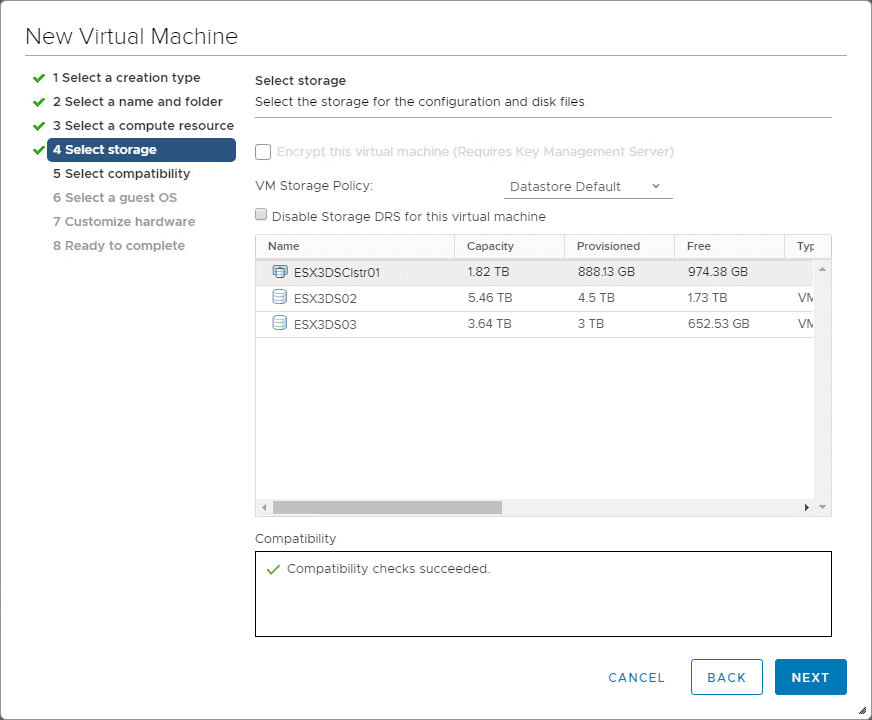
Select storage…
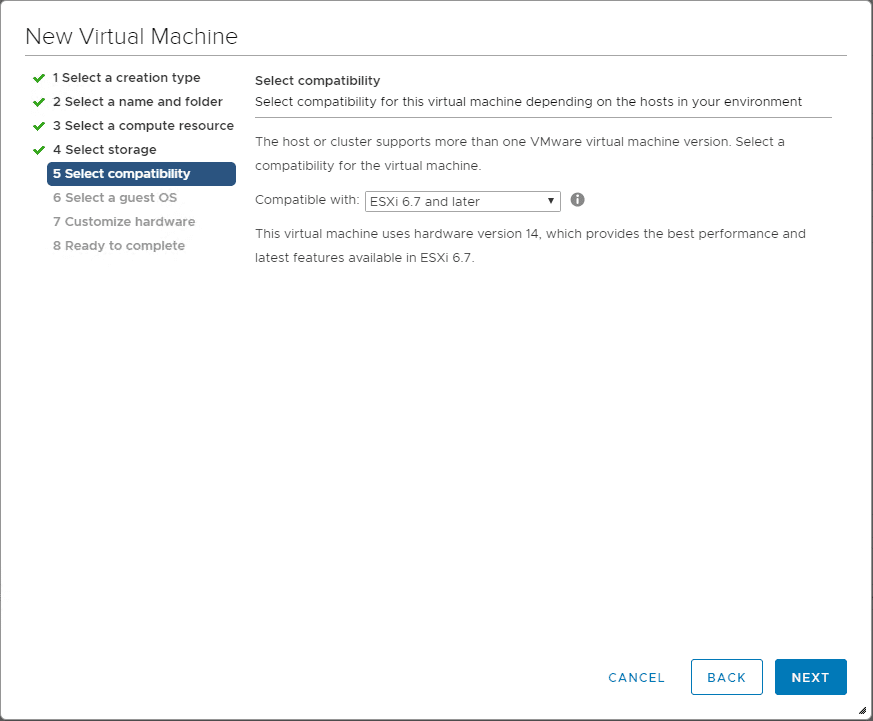
Select compatibility…
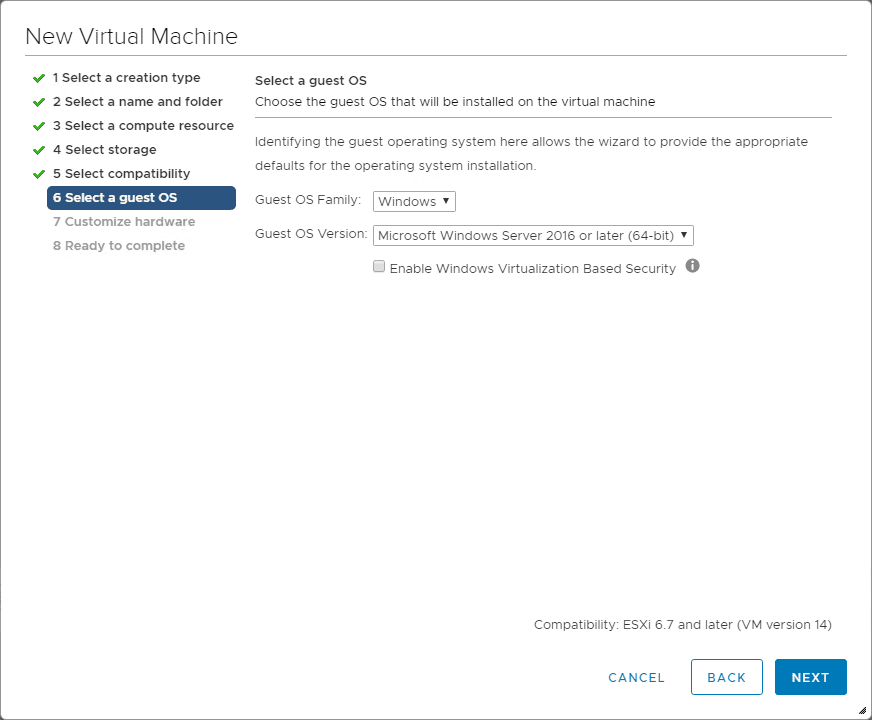
On the Select a guest OS, be sure to match up the version of Windows you are exporting.
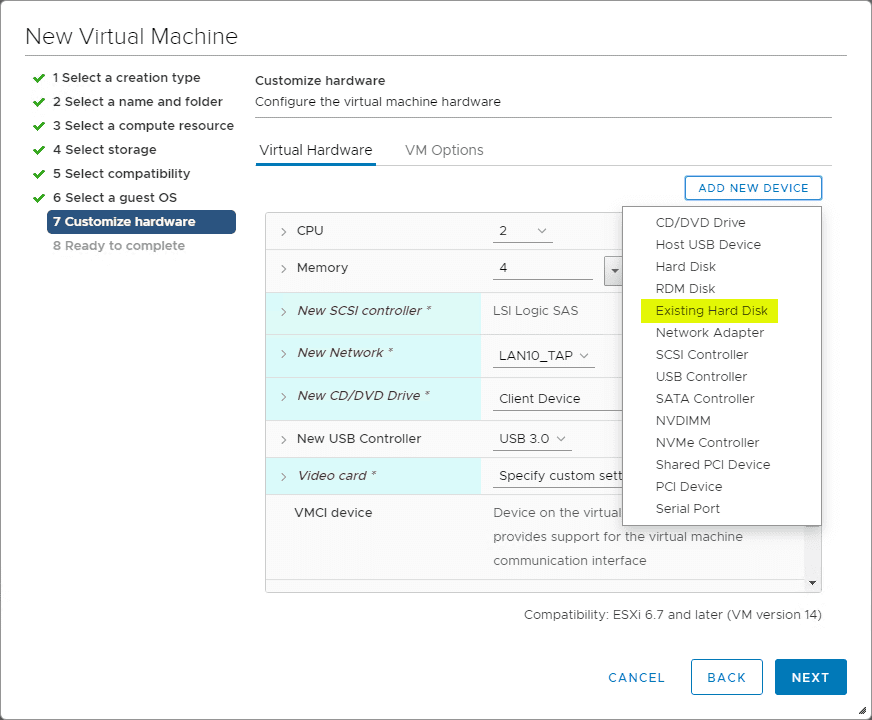
Now, for the rest of the P2V magic. Remove the default disk that is pending. Then select Add New Device > Existing Hard Disk.
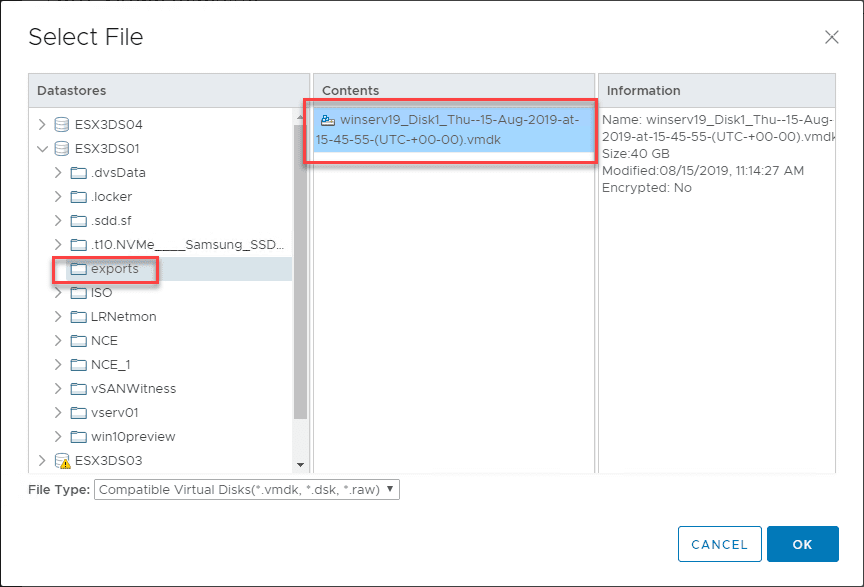
Select the hard disk that was copied over from the export process.
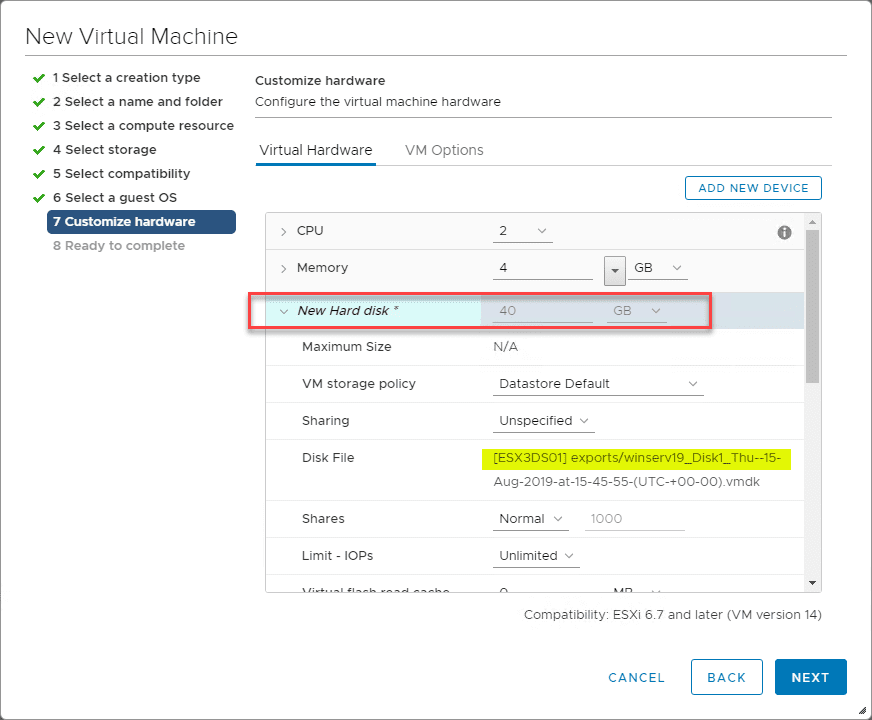
The new disk is added and ready to be finalized.
Finish out the New Virtual Machine wizard with the added hard disk from the physical server export process from NAKIVO.

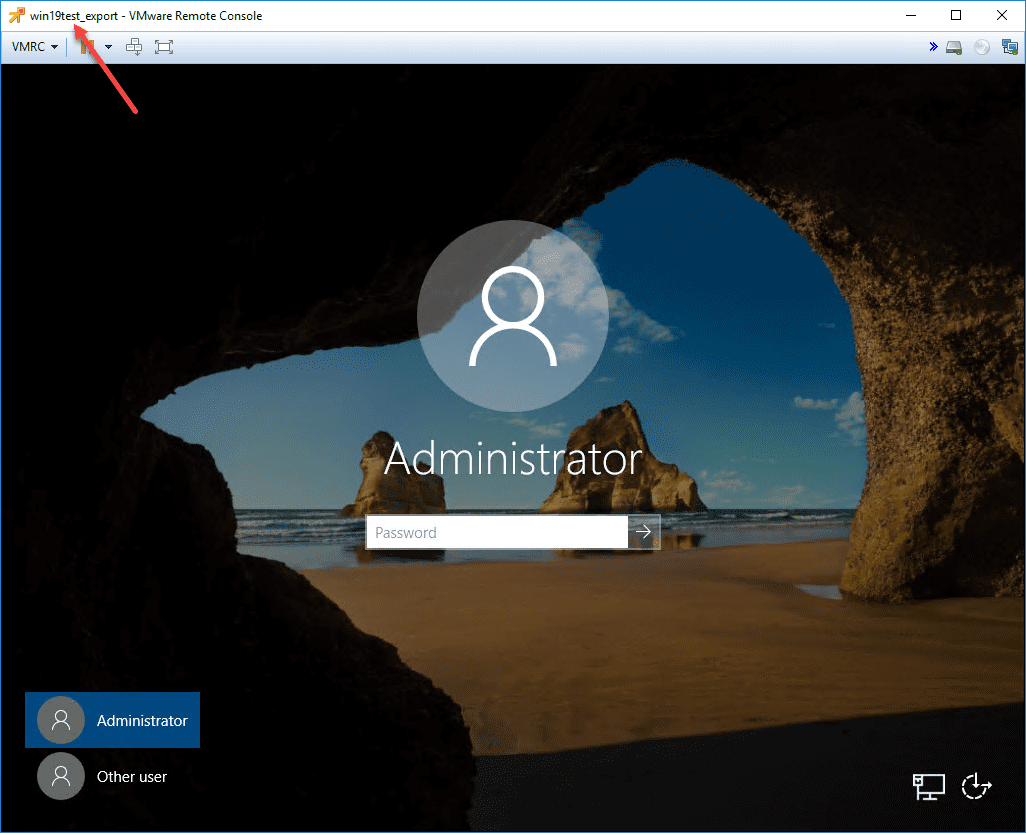
After hitting Finish, I was able to boot the new VMware VM and the server booted as expected!
Wrapping Up
The ability to Easily P2V Physical Windows Servers to VMs with NAKIVO Backup & Replication v9.0 is a great way that admins can possibly finish out P2V projects if they still have those pending, or opportunities that have developed to P2V servers that were once thought “un-P2V’able”. The new physical Windows Server backup capability found in NAKIVO Backup & Replication v9.0 is a great addition to the already feature-rich product. Be sure to check out a fully-featured trial version of the software if you want to test out the P2V capabilities in your own environment.


0 Comments