
A Certificate Authority (CA) can issue certificates for internal internet sites, RDS connections …
The advantage of having a CA is having to deploy a single certificate on the computers, and some Windows services require certificates from a CA to work:
- RemoteApp
- Client RDP HTML5
On Windows, there are two types of CAs (summary):
- Company : CA linked to an Active Directory that can issue certificates for domain members (posts / users).
- Standalone: AC that can be a member or not of a domain that issues certificates of the generations of “manual request”.

Configuration of the certification authority
Contents
In this part we will configure a stand-alone CA.
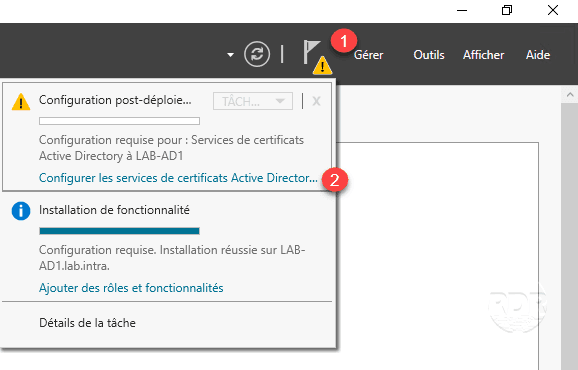
1. From the server manager, click on the 1 flag and then Configure Active Directory Certificate Services 2 to open the configuration wizard.
2. Specify a local Administrators group member use 1 and click Next 2.

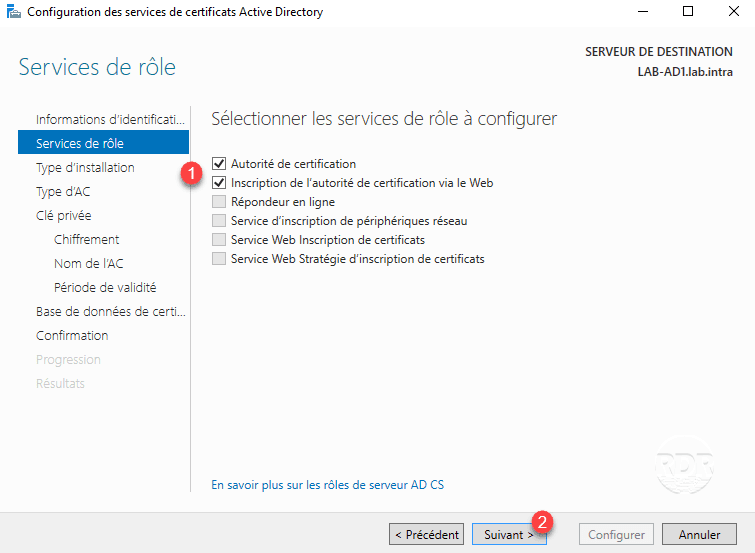
3. Check the services to configure 1 and click Next 2.
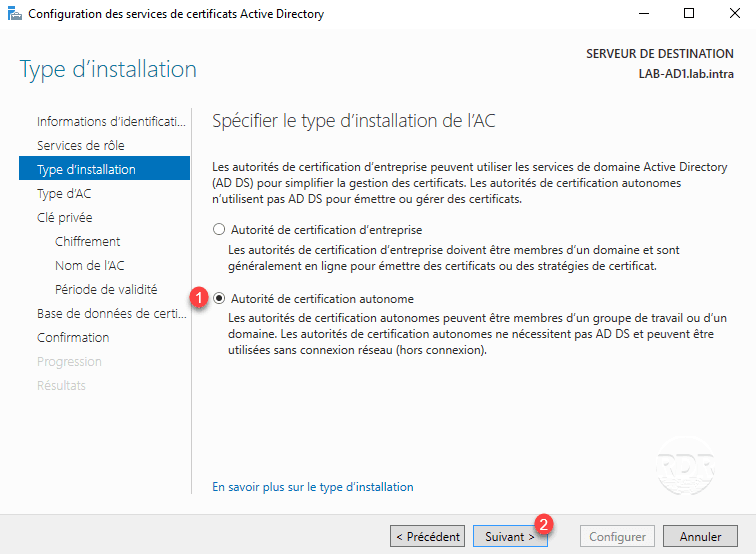
4. Select stand-alone CA 1 and click Next 2.
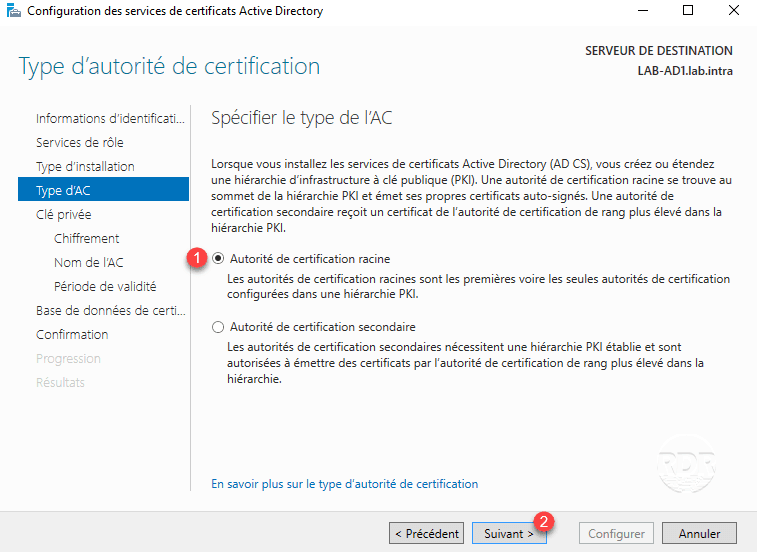
5. Type de l’AC, choisir Autorité de certification racine 1 puis cliquer sur Suivant 2.
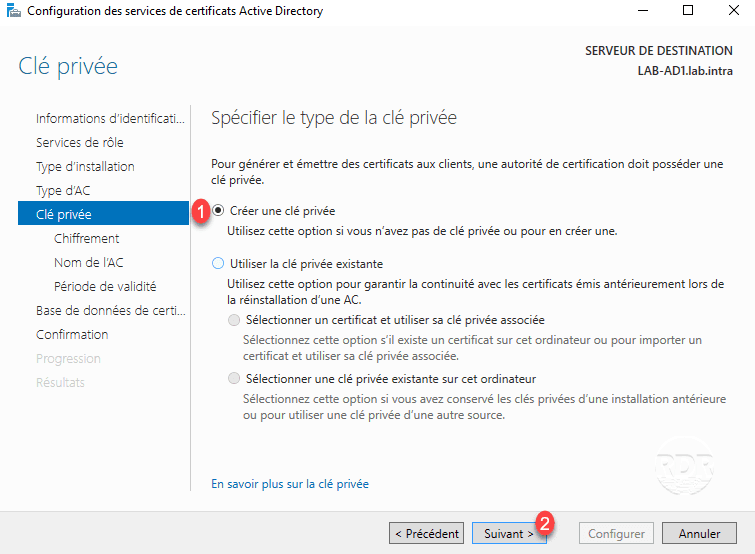
6. Select Create private key 1 and click Next 2.
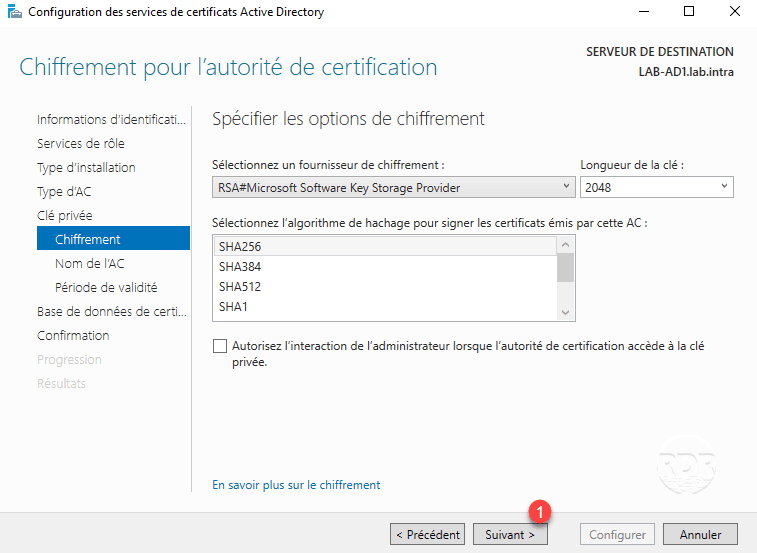
7. If necessary change the encryption options and click Next 1.
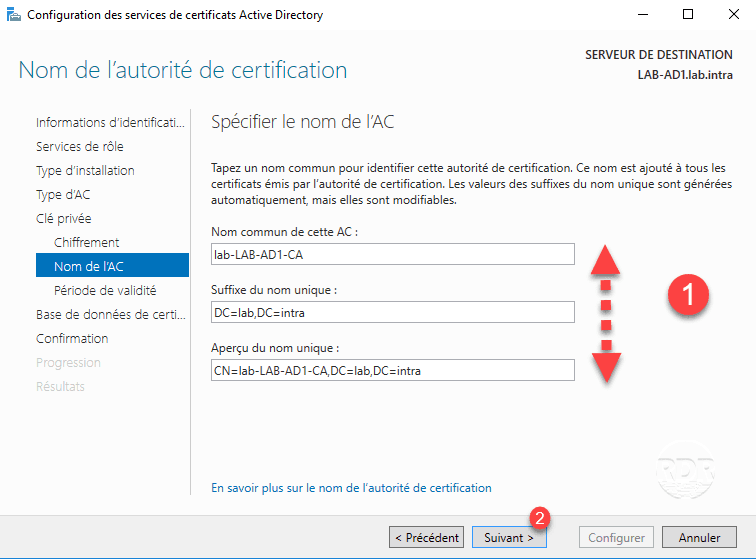
8. Configure the name of the Certificate Authority 1 and click Next 2.
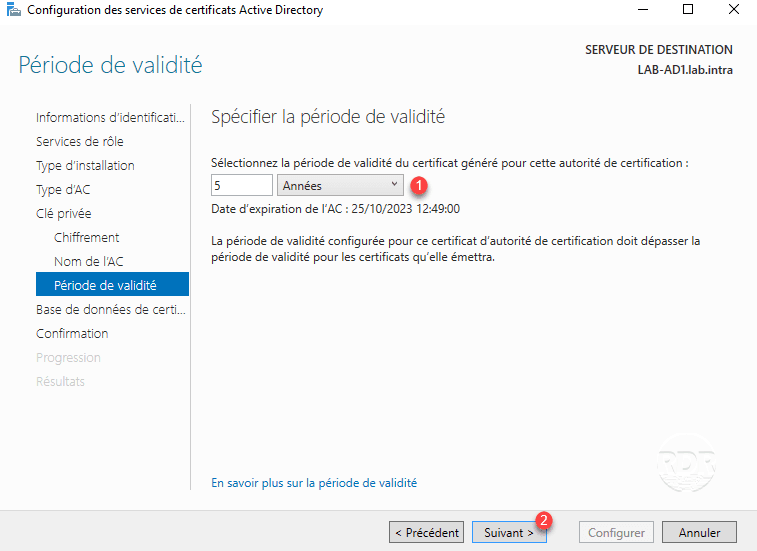
9. Configure the period of validity of the authority (5/10 / … years) 1 then click Next 2.
10. Specify the location of the AC 1 data and click Next 2.

11. Click Configure 1 to start the creation of the certification authority.

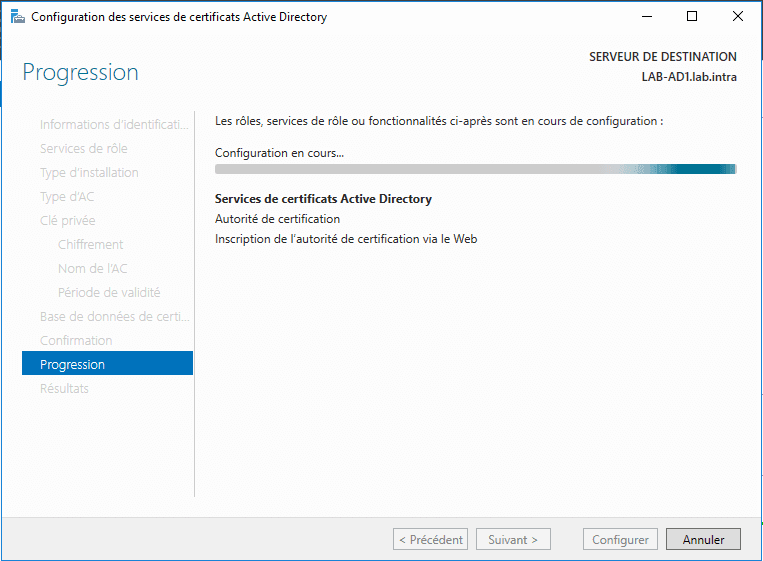
12. Wait while creating AC …
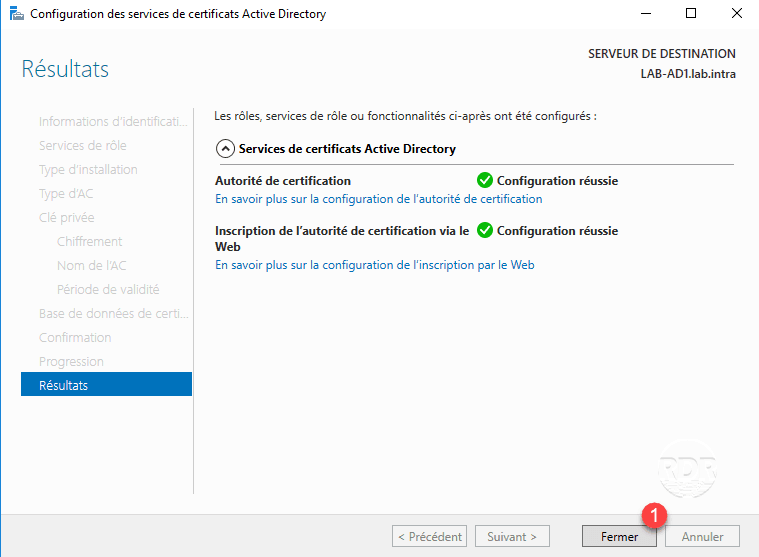
13. When finished, exit the wizard by clicking the Close 1 button.


0 Comments