
I have covered Kubernetes home lab environments in a few past posts, including the links to follow. However, I realized an environment that I have left out that is certainly a great tool for learning is Minikube and WSL 2. Both of these can be used to spin up a Kubernetes test playground that is easily accessible.
Why Minikube for Kubernetes?
The below explanation is taken directly from the official Kubernetes documentation:
Like kind, minikube is a tool that lets you run Kubernetes locally. minikube runs
a single-node Kubernetes cluster on your personal computer (including
Windows, macOS, and Linux PCs) so that you can try out Kubernetes, or
for daily development work.
All you need is Docker (or similarly compatible) container or a
Virtual Machine environment, and Kubernetes is a single command away: minikube start
Install Minikube in WSL 2 with Kubectl and Helm
We will cover the following step-by-step to install Minikube in WSL 2 with Kubectl and Helm:
- Install Docker in WSL 2
- Install Minikube prerequisites
- Install Minikube
- Install kubectl and set context to Minikube
- Install Helm
- Start the Minikube Kubernetes cluster
1. Install Docker in WSL 2
The steps to install Docker in WSL 2 include:
- Install prerequisites
sudo apt-get install -y \
    apt-transport-https \
    ca-certificates \
    curl \
    software-properties-common
2. Download and add the official Docker PGP key
curl -fsSL https://download.docker.com/linux/ubuntu/gpg | sudo apt-key add -3. Add the stable channel repository
sudo add-apt-repository \
   "deb [arch=amd64] https://download.docker.com/linux/ubuntu \
   $(lsb_release -cs) \
   stable"
4. Update the package list
sudo apt-get update -y5. Install the latest Docker CE
sudo apt-get install -y docker-ce6. Add your user to access the Docker CLI without root user permissions
sudo usermod -aG docker $USER && newgrp docker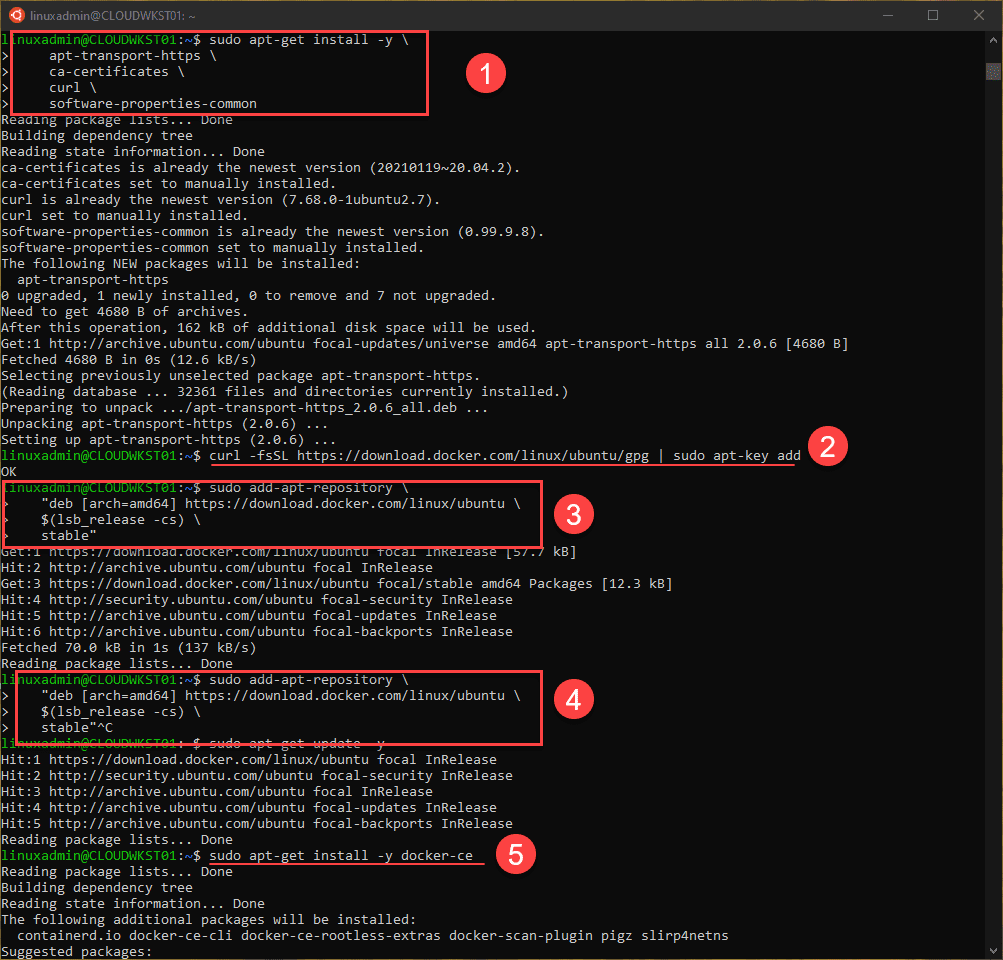
2. Install Minikube prerequisites
There are a couple of prerequisites that blogs around the web detail as needed for installation of Minikube in WSL. These include:
- systemctl
- conntrack
- Install systemctl
To install systemctl, there is a github script you need to pull down.
git clone https://github.com/DamionGans/ubuntu-wsl2-systemd-script.git
cd ubuntu-wsl2-systemd-script/
bash ubuntu-wsl2-systemd-script.sh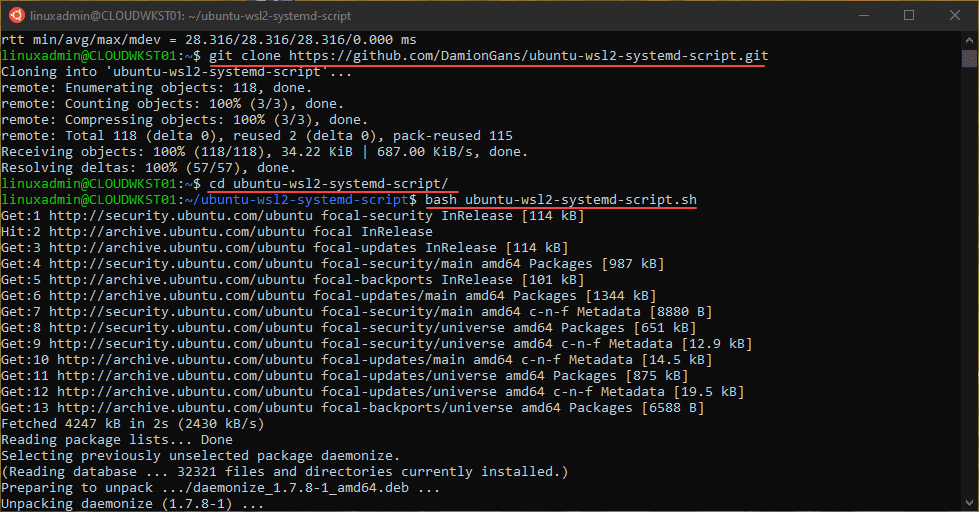
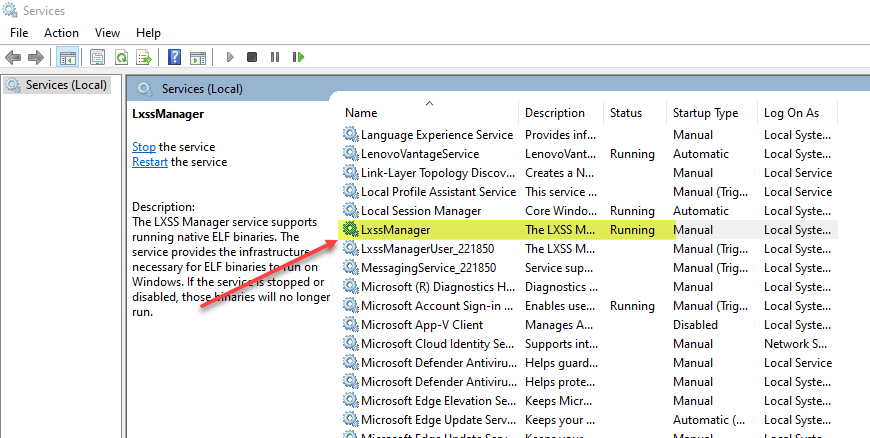
Restart the LxssManager in Windows to initialize systemctl with WSL 2.
2. Install Conntrack
sudo apt install -y conntrack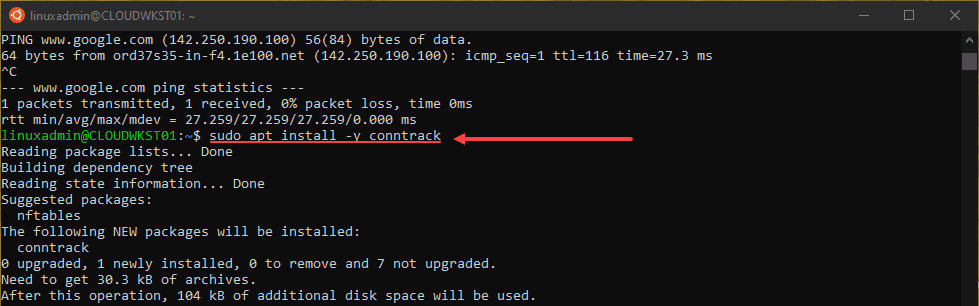
3. Install Minikube
After installing the prerequisites, installing Minikube is quite easy. You just pull down the latest Minikube using the following:
# Download the latest Minikube
curl -Lo minikube https://storage.googleapis.com/minikube/releases/latest/minikube-linux-amd64

# Make it executable
chmod +x ./minikube

# Move it to your user's executable PATH
sudo mv ./minikube /usr/local/bin/

#Set the driver version to Docker
minikube config set driver docker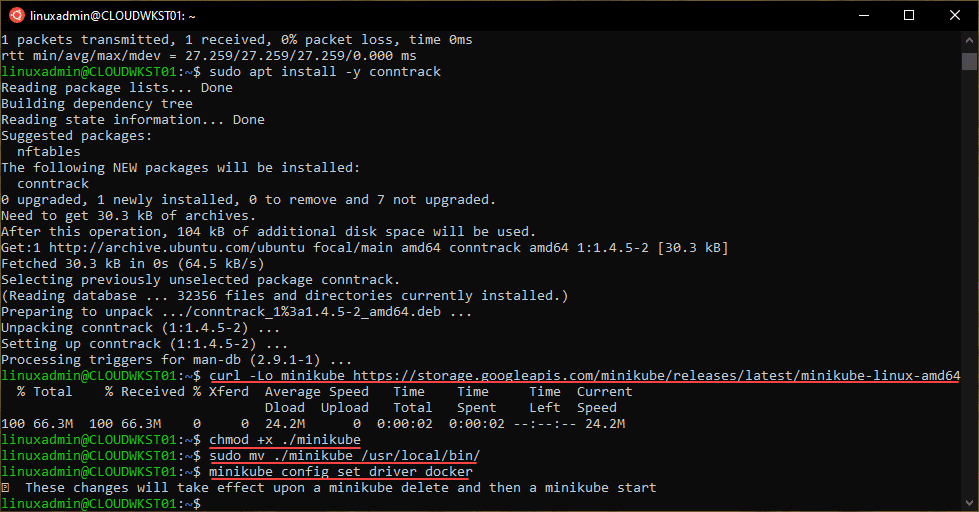
4. Install Kubectl and set context to Minikube
Kubectl is the defacto standard tool for working with Kubernetes in general. It is great to get it installed and set the context for Kubectl to Minikube.
curl -LO "https://dl.k8s.io/release/$(curl -L -s https://dl.k8s.io/release/stable.txt)/bin/linux/amd64/kubectl"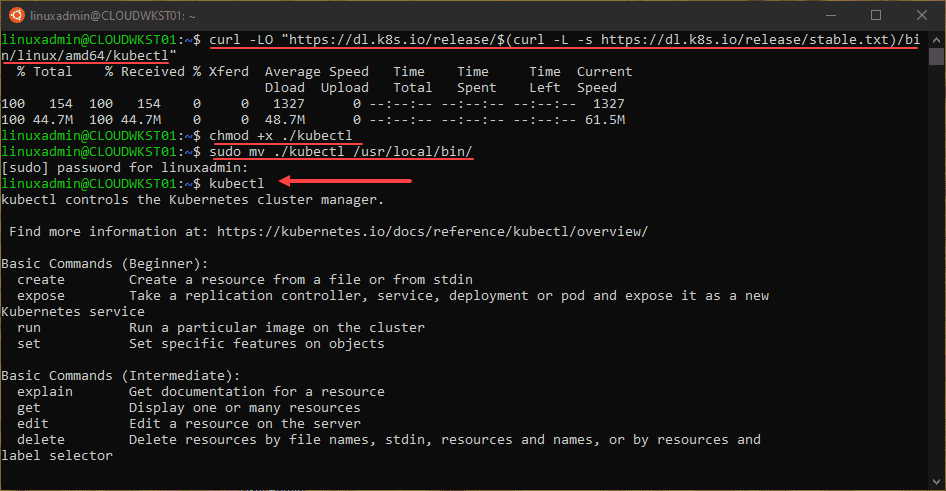
Below is the command to set the context to Minikube:
kubectl config use-context minikube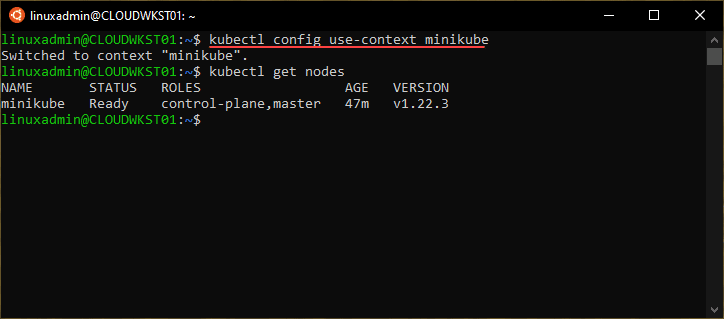
5. Install Helm to work with Minikube
The process to install helm involves the following steps:
curl https://raw.githubusercontent.com/kubernetes/helm/master/scripts/get > get_helm.sh
chmod 700 get_helm.sh
./get_helm.sh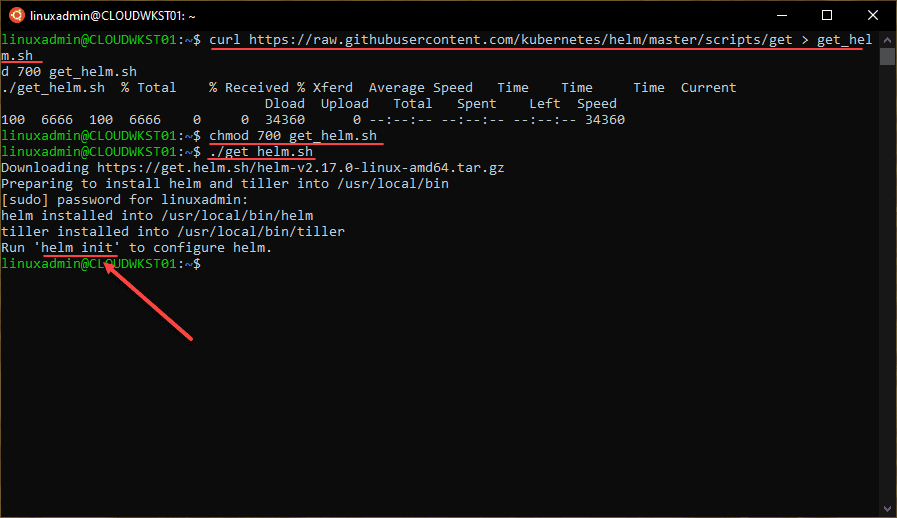
6. Start the Minikube Kubernetes Cluster
After running the command to start the minikube cluster, which is:
minikube startYou can see the single cluster node running using the kubectl command:
kubectl get nodes -o wide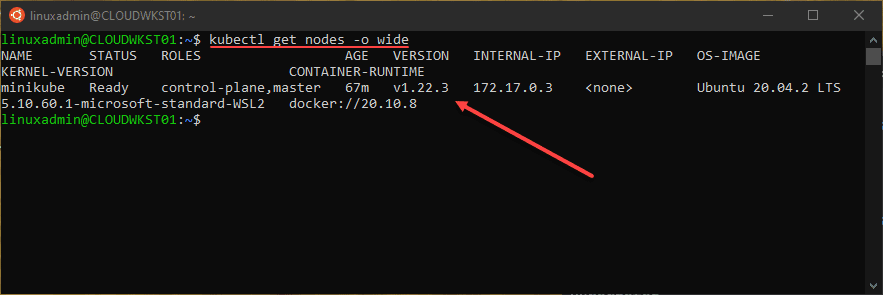
Wrapping Up
Using WSL 2 and Minikube is a great way to start playing around with Kubernetes clusters without the need for standing up VMs and other lab environment prerequisites. WSL2 has its quirks, however, using the process listed above, you should be able to get a Minikube Kubernetes cluster up and running fairly quickly.
Kubectl and Helm are additional components that aren’t absolutely required to work with Minikube. However, they allow using the same tools you will use in production to interact with your Kubernetes clusters.


0 Comments