
There is no shortage of cybersecurity threats. New risks seem to be uncovered daily/weekly and keep organizations struggling to keep up with patching the security vulnerabilities. Take Log4j for example. Businesses are still struggling to find all vulnerable applications in their environment and get everything patched at this point. Backing up your data is absolutely critical to protecting your data from today’s threats, such as ransomware. New ransomware is now specifically targeting ESXi and encrypting data at the datastore level. Backups don’t have to be difficult or cumbersome to implement. I want to show you guys NAKIVO Backup Synology NAS installation configuration and features. It provides a great solution to protect your data in a “backup in a box” backup solution.
What is NAKIVO Backup – Synology NAS?
NAKIVO Backup & Replication is an enterprise backup solution that provides top-level features for protecting business-critical workloads in the enterprise. I have been testing and using NAKIVO for a few years now in the lab environment and it has many compelling features, one of which is the very flexible installation types of the product. NAKIVO is hands down one of the easiest backup solutions to install and it offers many ways to get it up and running in your environment.
One of the easiest ways is to download the OVA file from NAKIVO and deploy this as a virtual machine in your virtual environment. You can download the OVA appliance, deploy, configure, and have a working backup solution in around 10 minutes in my experience which is hard to beat. However, one of the other great ways NAKIVO can be installed is on a NAS device.
I recently added a Synology DS1621xs+ in the home lab environment and getting NAKIVO installed on the NAS and performing backups of my home lab environment was on the top of the list of things I wanted to get configured on the NAS.
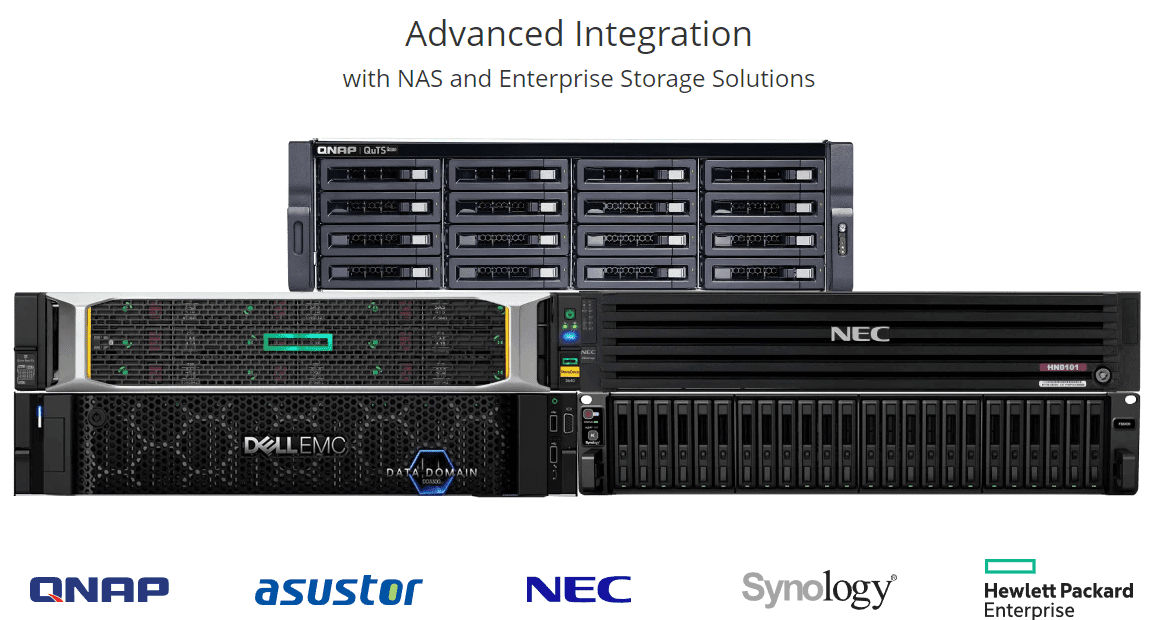
NAKIVO Backup & Replication is available for the following NAS devices:
- QNAP
- Synology
- ASUSTOR
- FreeNAS
- NETGEAR
- Raspberry Pi
- Western Digital
It allows you to have an all-in-one backup appliance by installing NAKIVO Backup & Replication directly on your NAS device as an app. It essentially turns your NAS into a versatile solution that contains the software, hardware, storage, networking, and deduplication technologies needed for space efficiency.
It suits many use cases extremely well. Imagine an edge location without much infrastructure on-site in the way of servers, hypervisors, networking, etc. Organizations can simply load up a NAS device, take it onsite to the edge location, plug it into the existing network switch, and start getting backups of critical virtual machines, physical machines, and other resources that exist at the location.
Installing NAKIVO Backup Synology NAS app and initial configuration
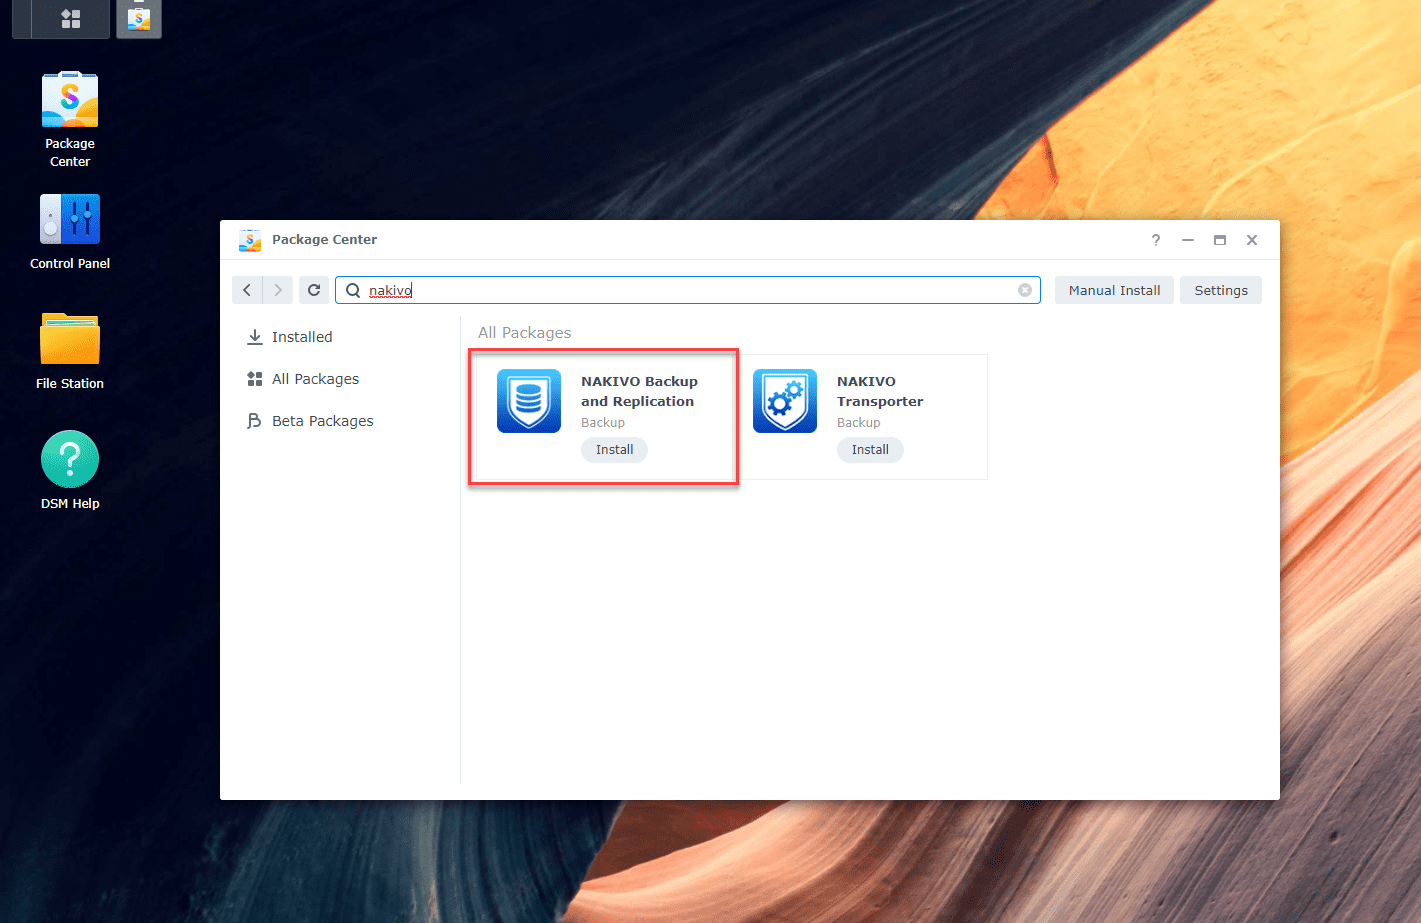
If you have worked with a Synology NAS before, they have a wealth of applications in their Package Manager that allows customers to extend the capabilities and functionality of the appliance. The NAKIVO Backup & Replication solution is available directly from the Synology Package Manager app.
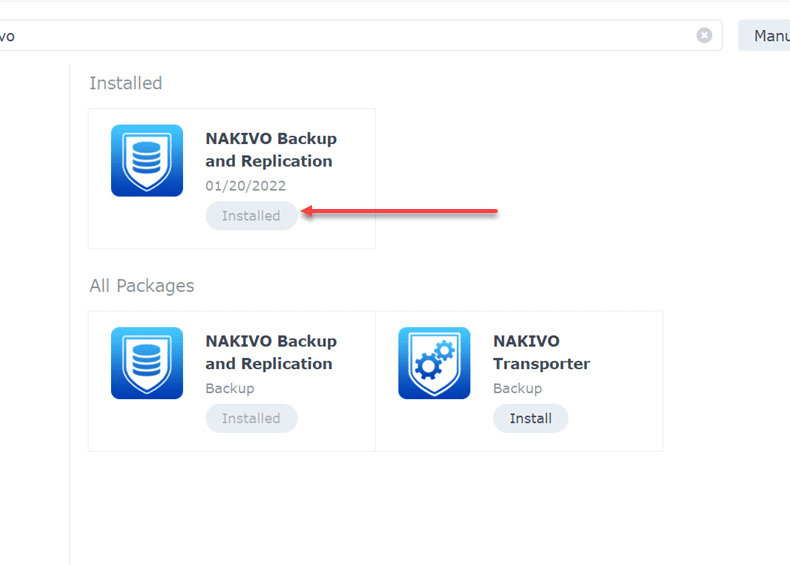
Below, in the Package Manager, I have searched for NAKIVO and it brings up the NAKIVO Backup and Replication app and also the NAKIVO Transporter app. The NAKIVO Transporter is included in the full app to the left. However, you can install the NAKIVO Transporter only on a NAS device and use this component to provide more options in larger environments for moving data around.
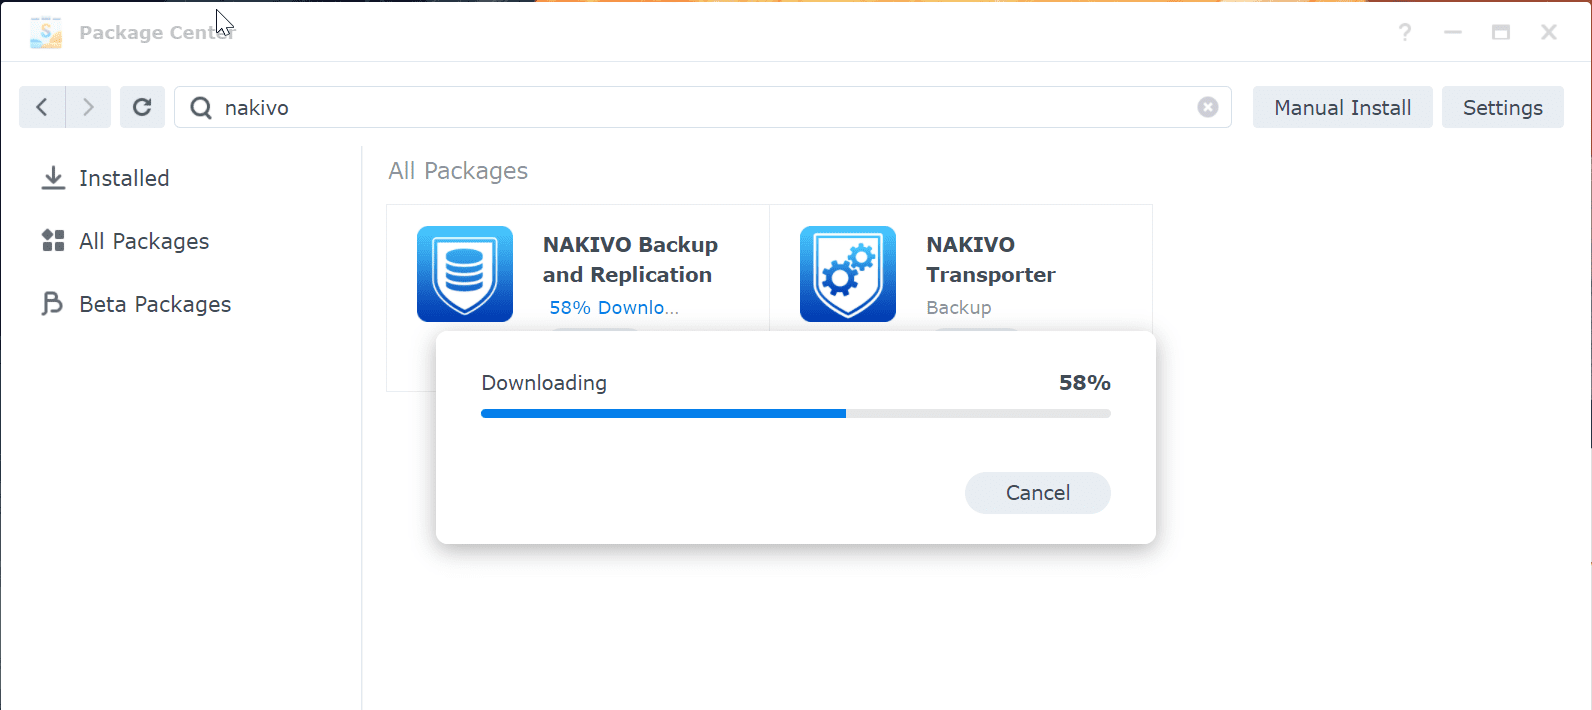
After clicking Install on the NAKIVO Backup and Replication app, the installation begins.
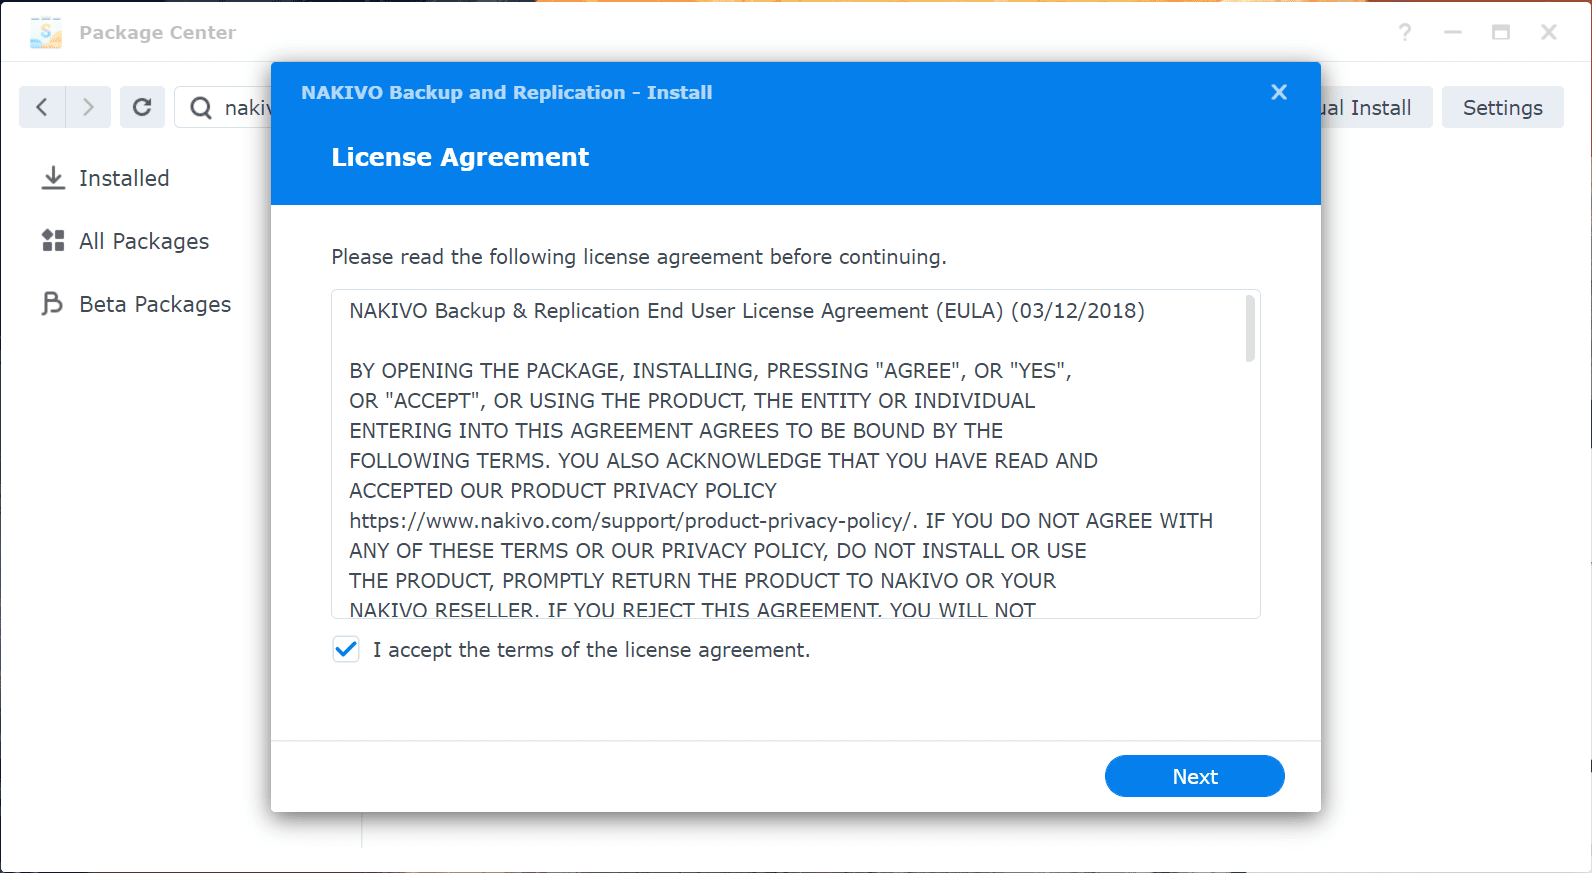
Accept the EULA presented with the NAKIVO Backup and Replication installation.
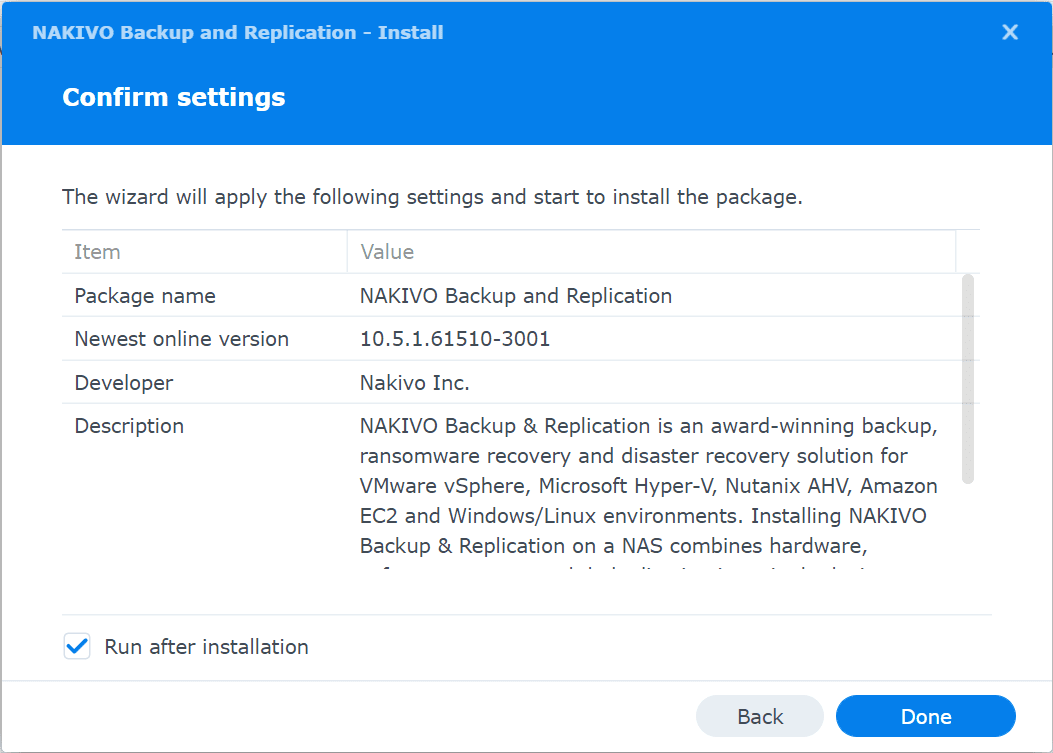
Confirm the settings for the installation of the NAKIVO Backup Synology app.
The app now shows as installed. We should be able now to launch it from our Synology Main Menu.
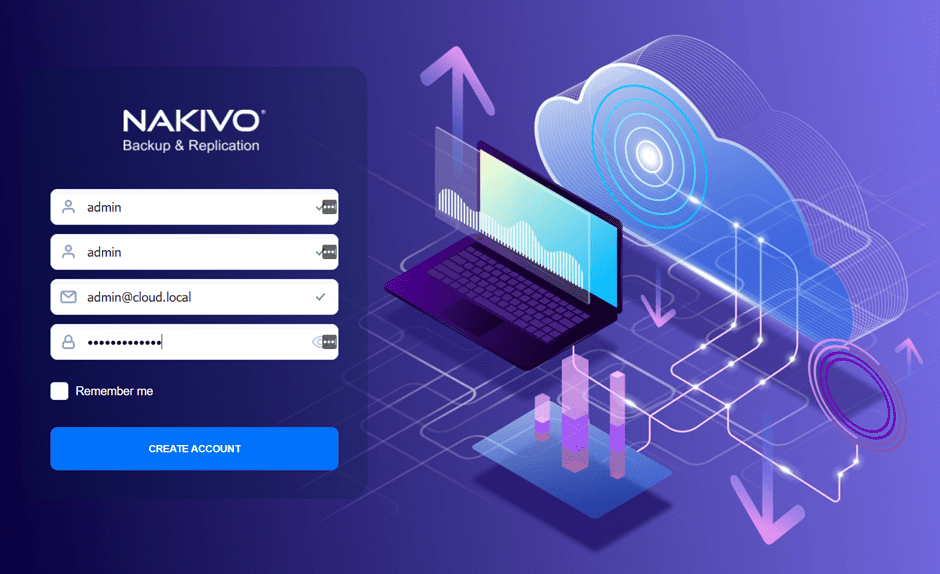
You can now navigate to the IP of your NAS with the :4443 port designation as this is the port NAKIVO uses. You will be presented with the initial admin user configuration. Fill in the information shown below to create your user and log in to the appliance.
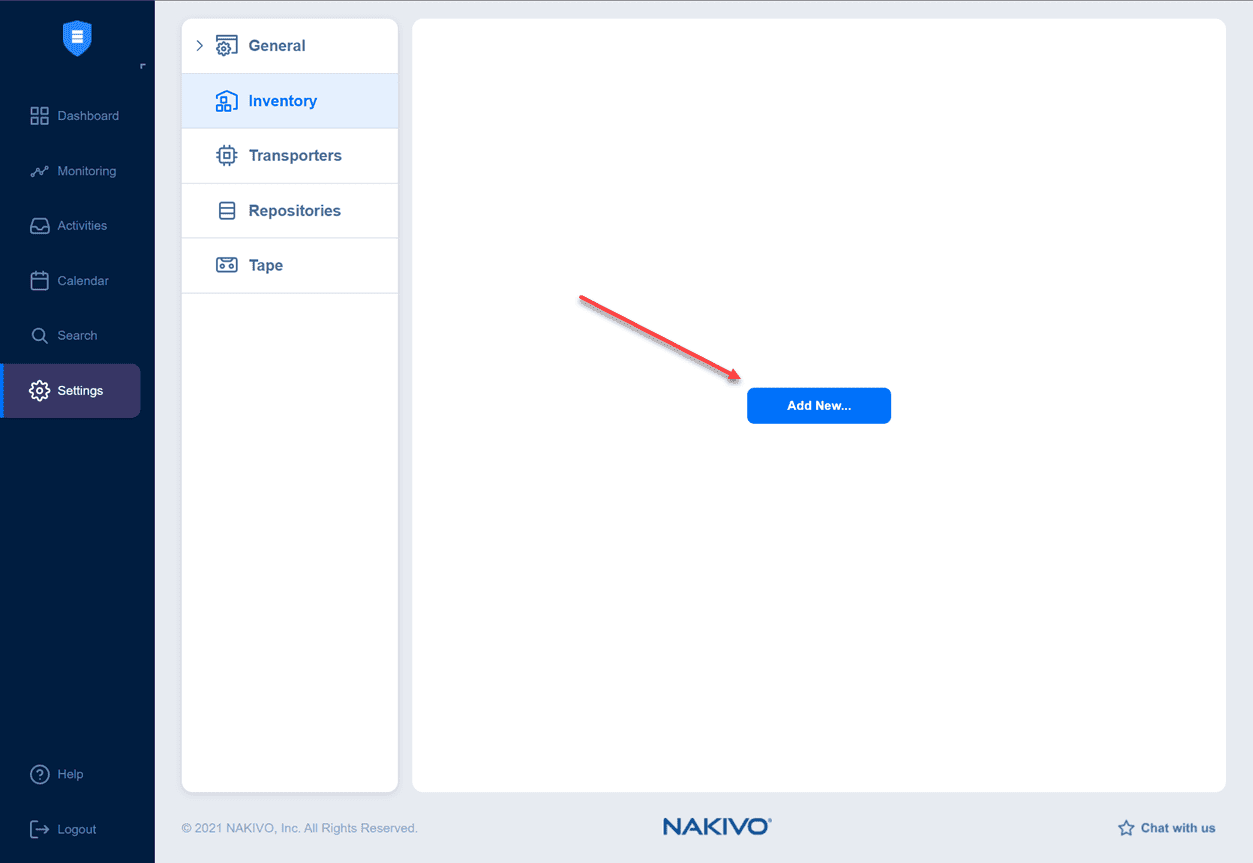
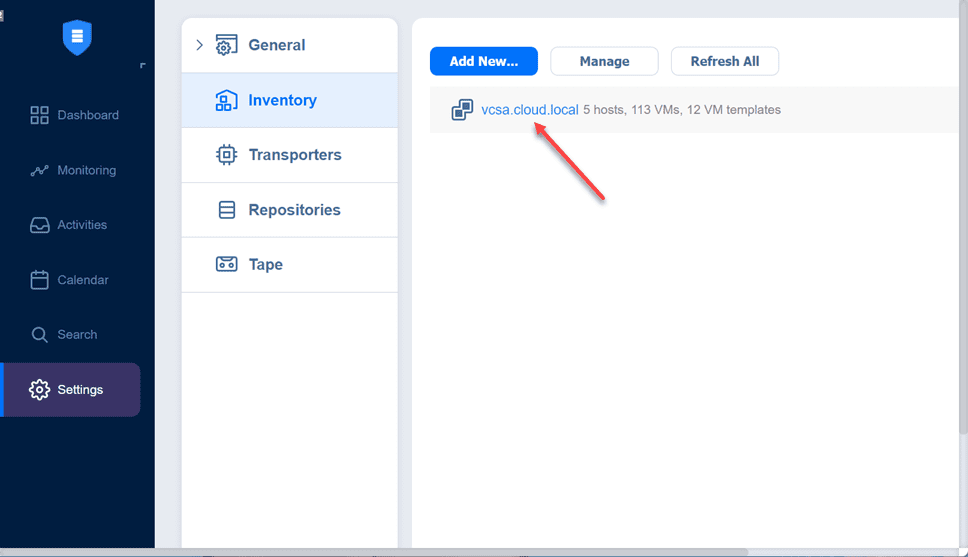
You will be taken to the initial configuration of NAKIVO where you configure the Inventory, Transporters, and Repositories.
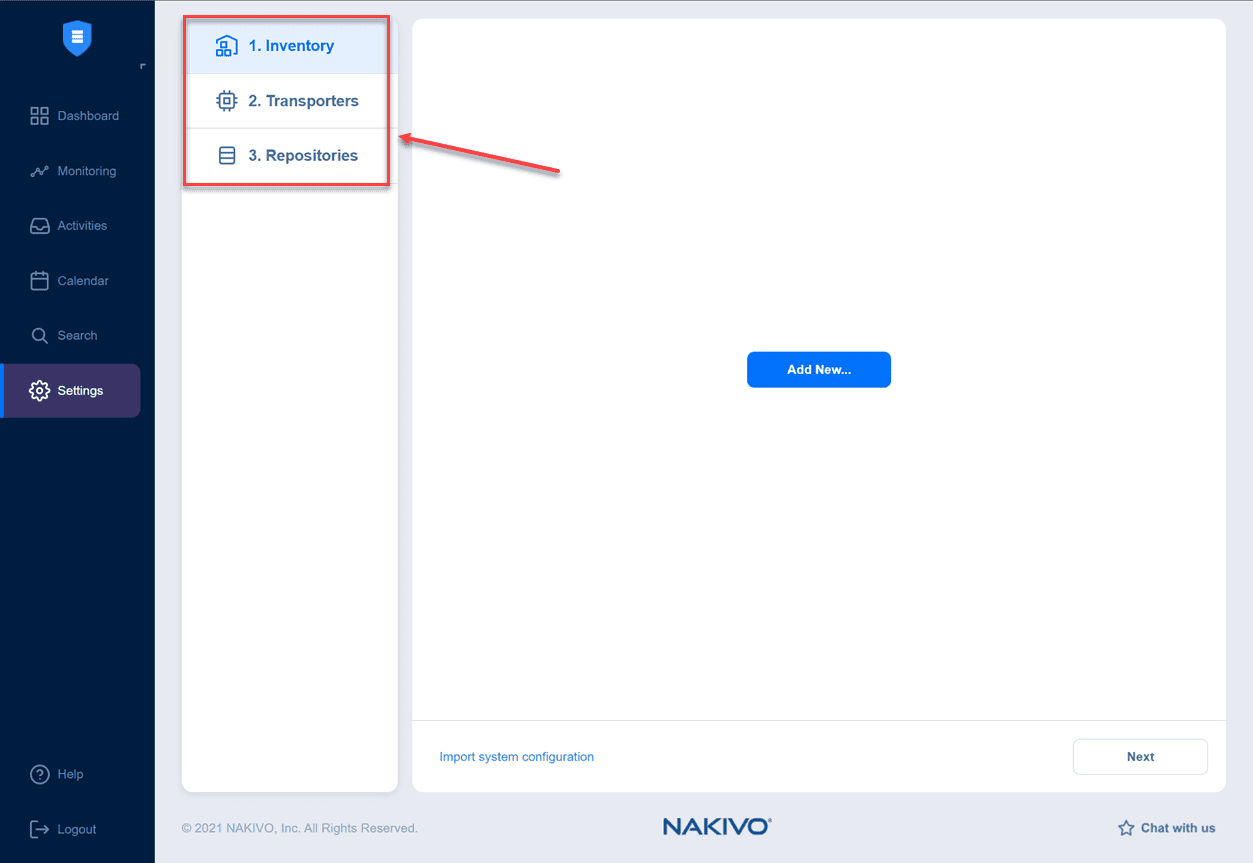
Click on the Add New… button to add a new connection to the resource you want to add for backup.
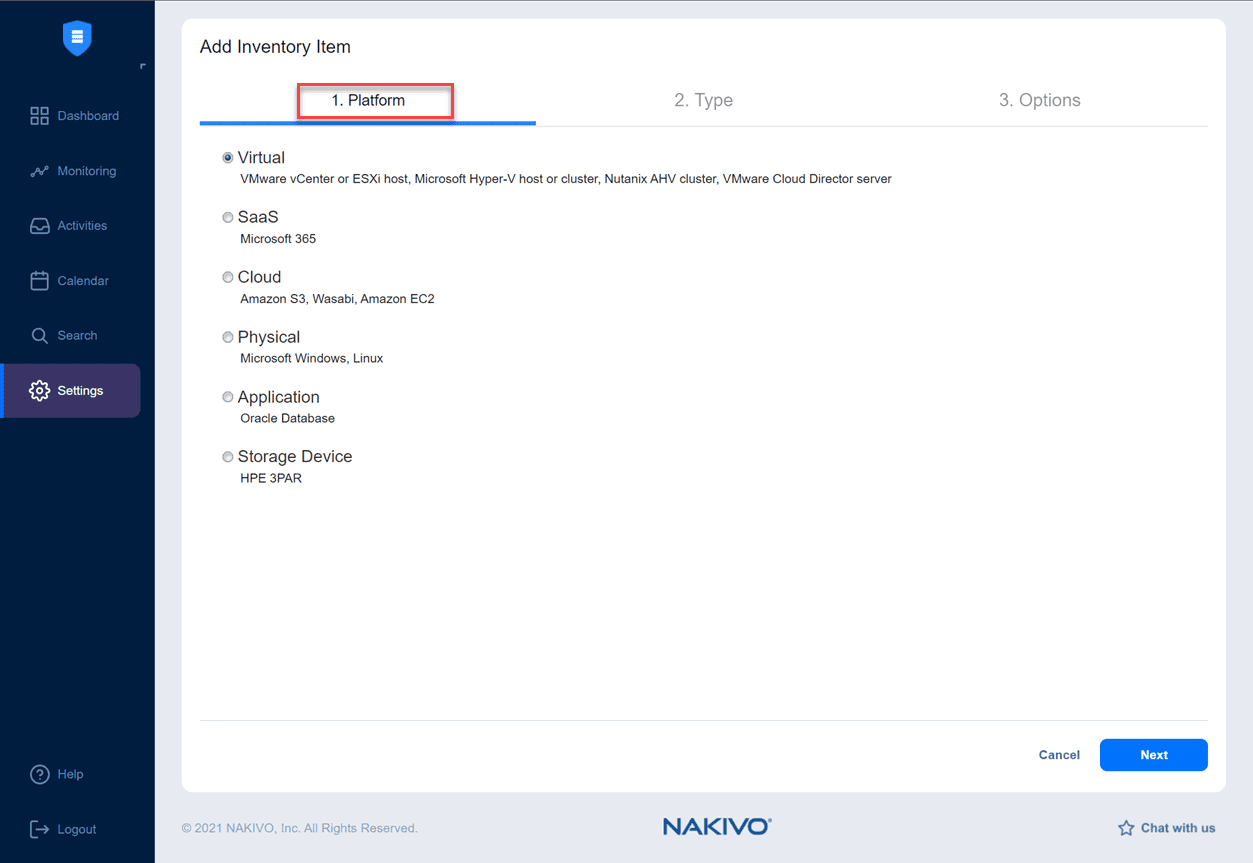
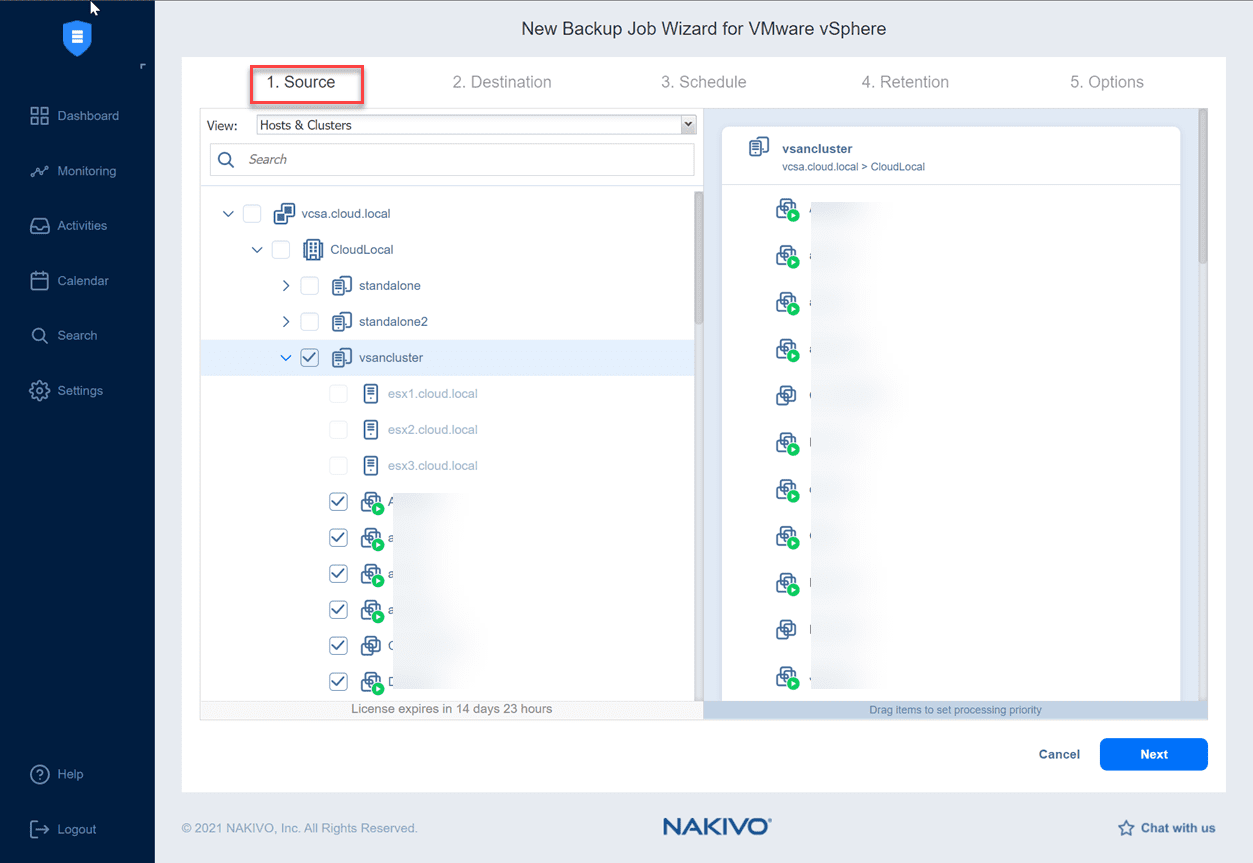
Below, I am choosing Virtual for backing up virtual machines. However, as you notice, there are many options “in-the-box,” including SaaS, Cloud, Physical, Application, Storage Device.
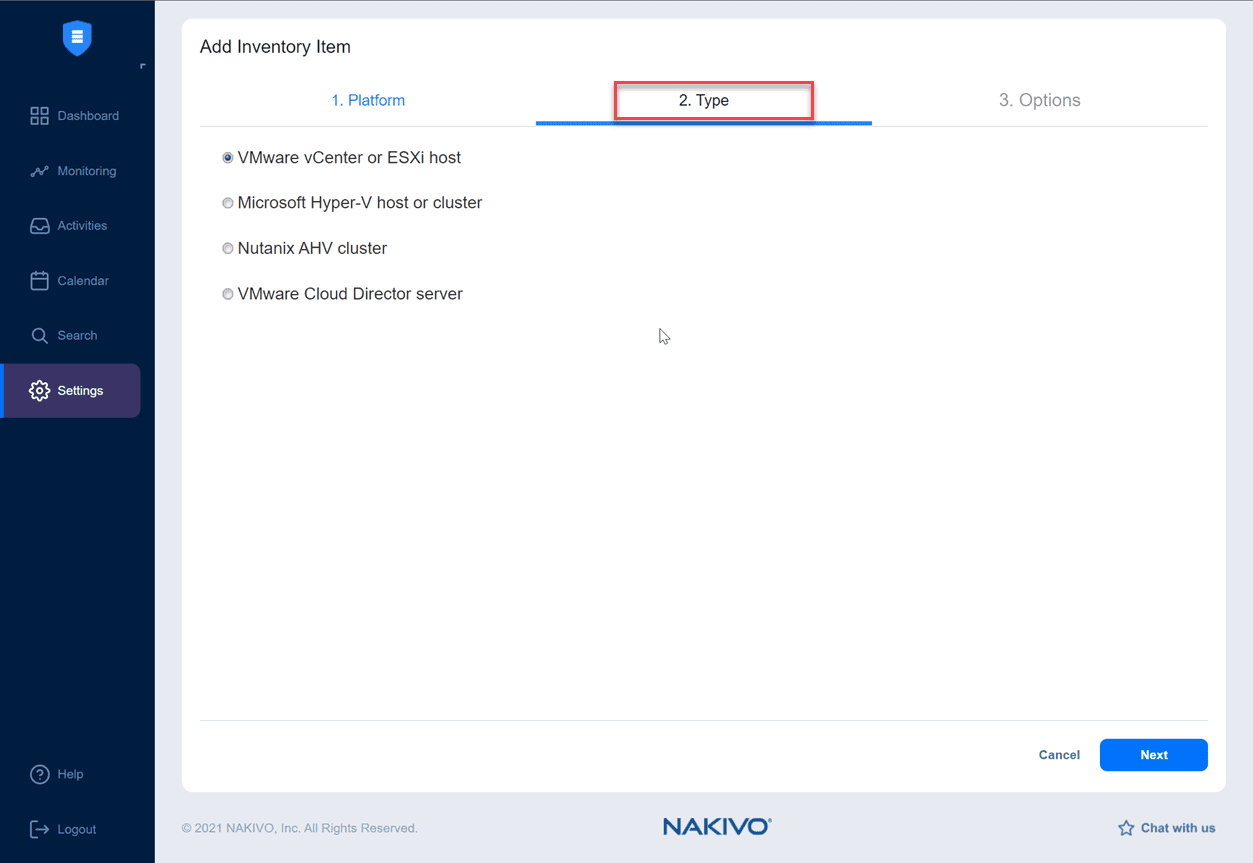
I am pointing the NAKIVO Synology Backup app to my VMware vCenter server in the home lab, so I am choosing VMware vCenter or ESXi host.
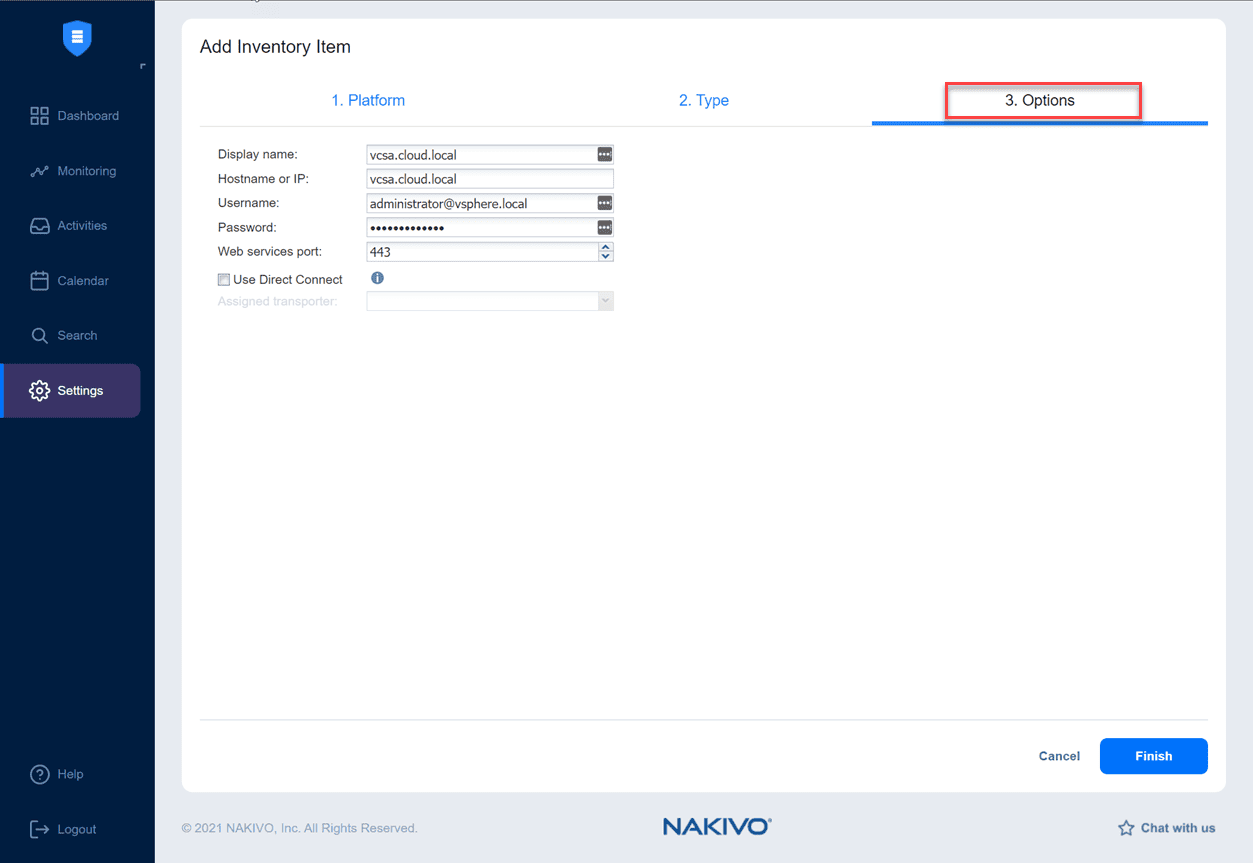
On the Options screen, enter the display name, and connection information for the virtual environment.
The connection to the vCenter Server is successful.
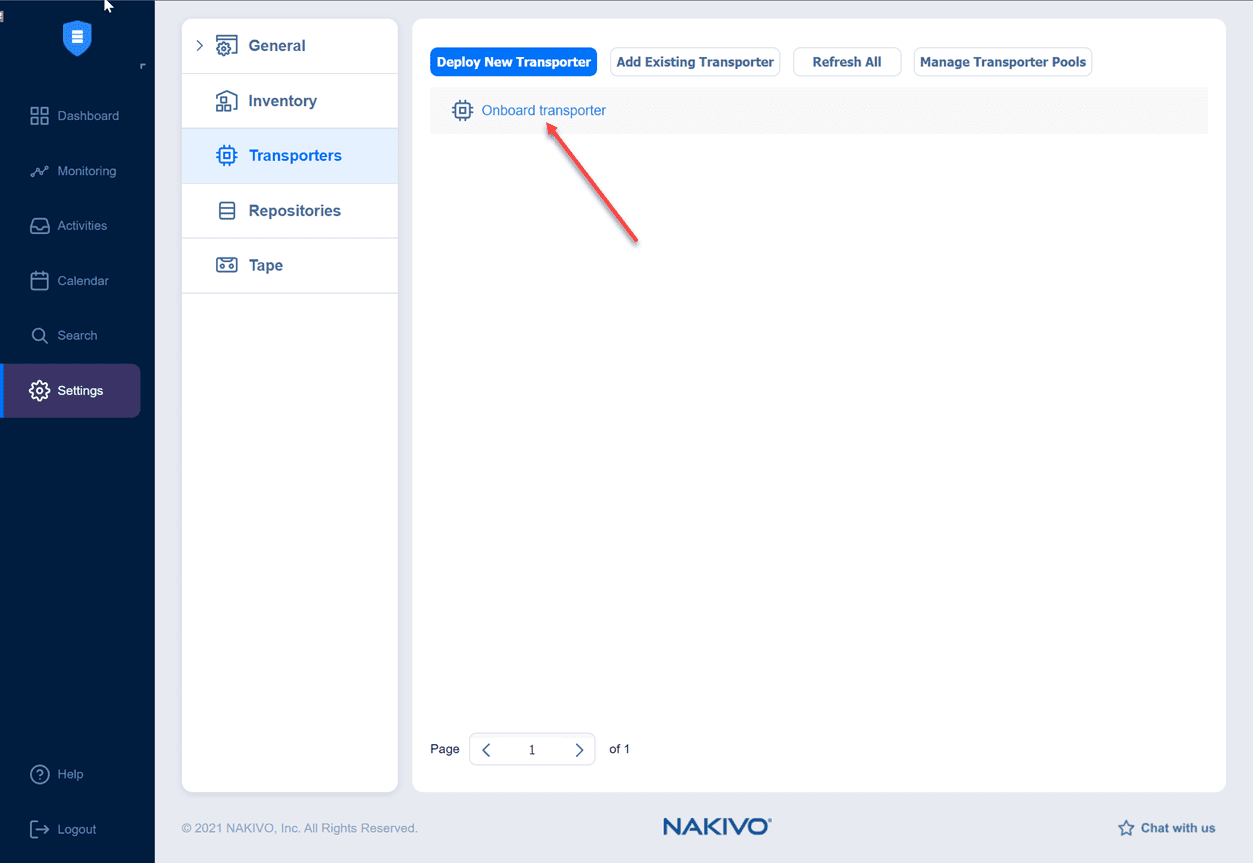
On the Transporters configuration, you can simply leave it set to the Onboard Transporter that is included with the full NAKIVO app installation.
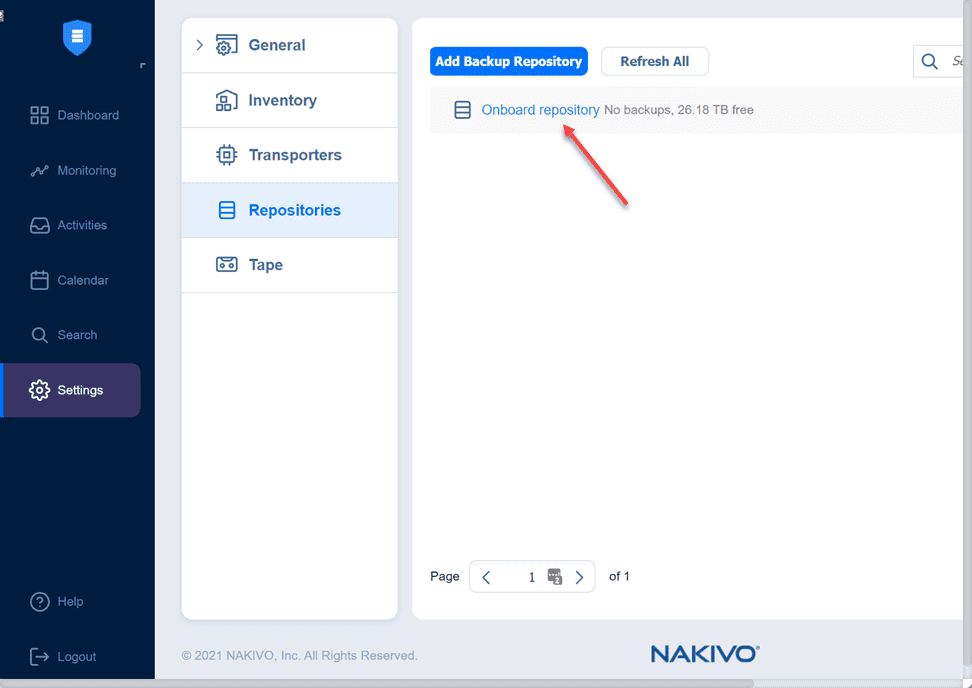
Here, I am also leaving the default Onboard repository selected as this targets the internal NAS storage which is what I want to do.
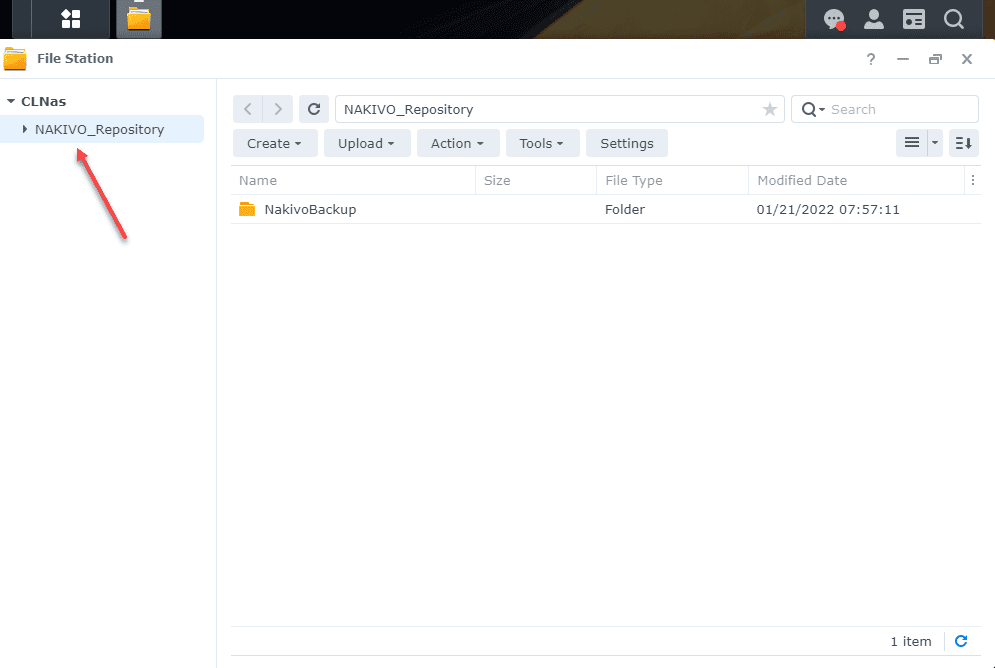
In case you are wondering how NAKIVO writes data to disk, the repository is simply created at the root level file structure of the Synology NAS appliance.
Let’s now look at creating a backup job on the NAKIVO Synology NAS appliance.
Creating a NAKIVO Backup job on the Synology NAS
Creating a backup job is extremely easy. Navigate to the Dashboard of NAKIVO, click Create and select the type of job you want to create. Below, I am creating a backup job for the VMware vSphere environment added in the steps shown above.
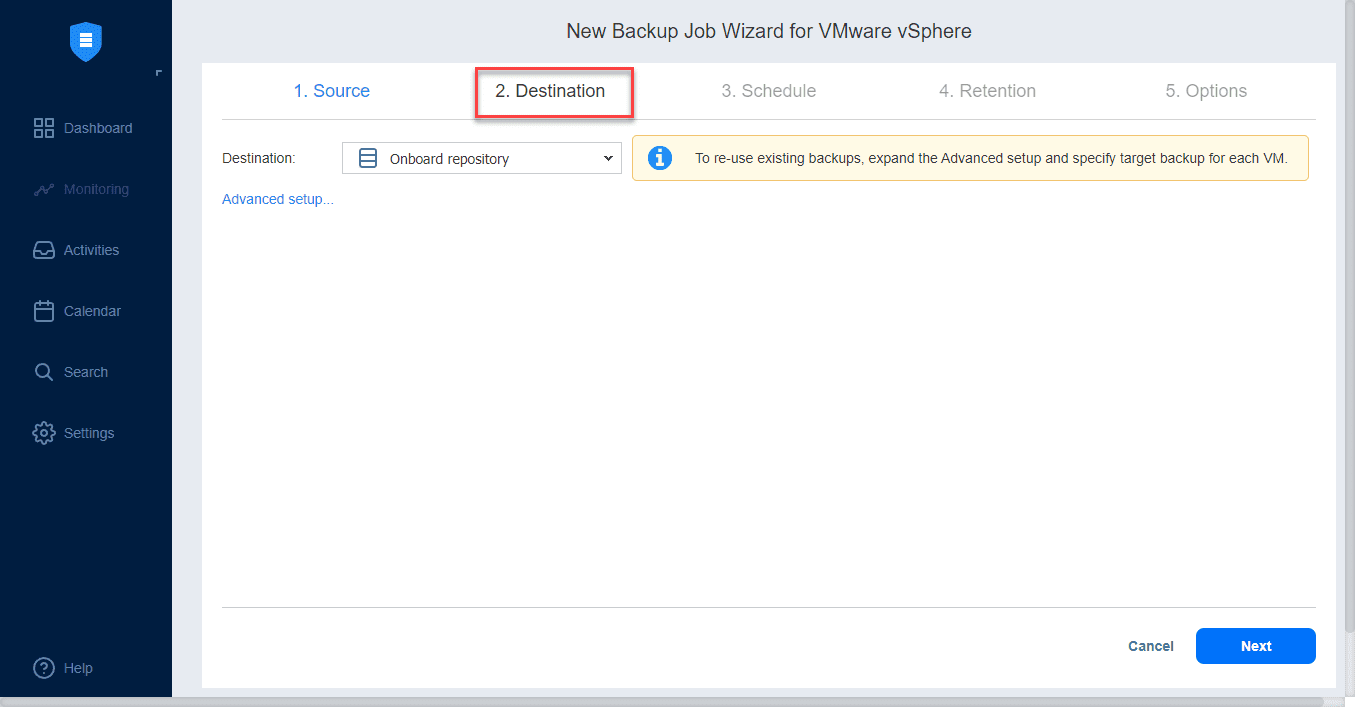
On the Destination screen, select the Onboard repository.
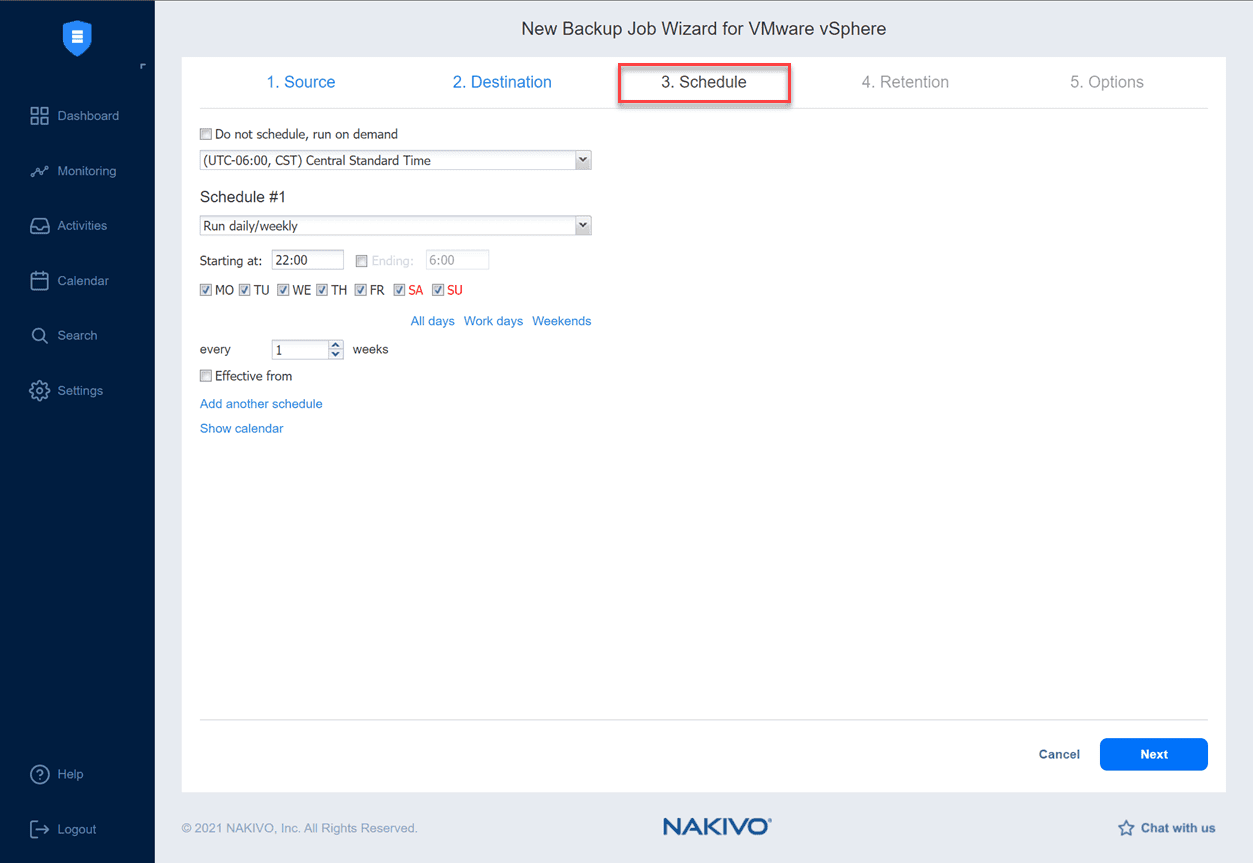
On the schedule screen, you can schedule the job. NAKIVO provides many options on the scheduling front, including creating the expected days/weeks setting and also other interesting options to granularly customize backups, including:
- Starting at – control the window that jobs can run in
- Effective from – maybe you only have a period of time you want to have a particular job to run
- Add another schedule – NAKIVO allows creating multiple schedules that are different, allowing a great deal of customization for scheduling
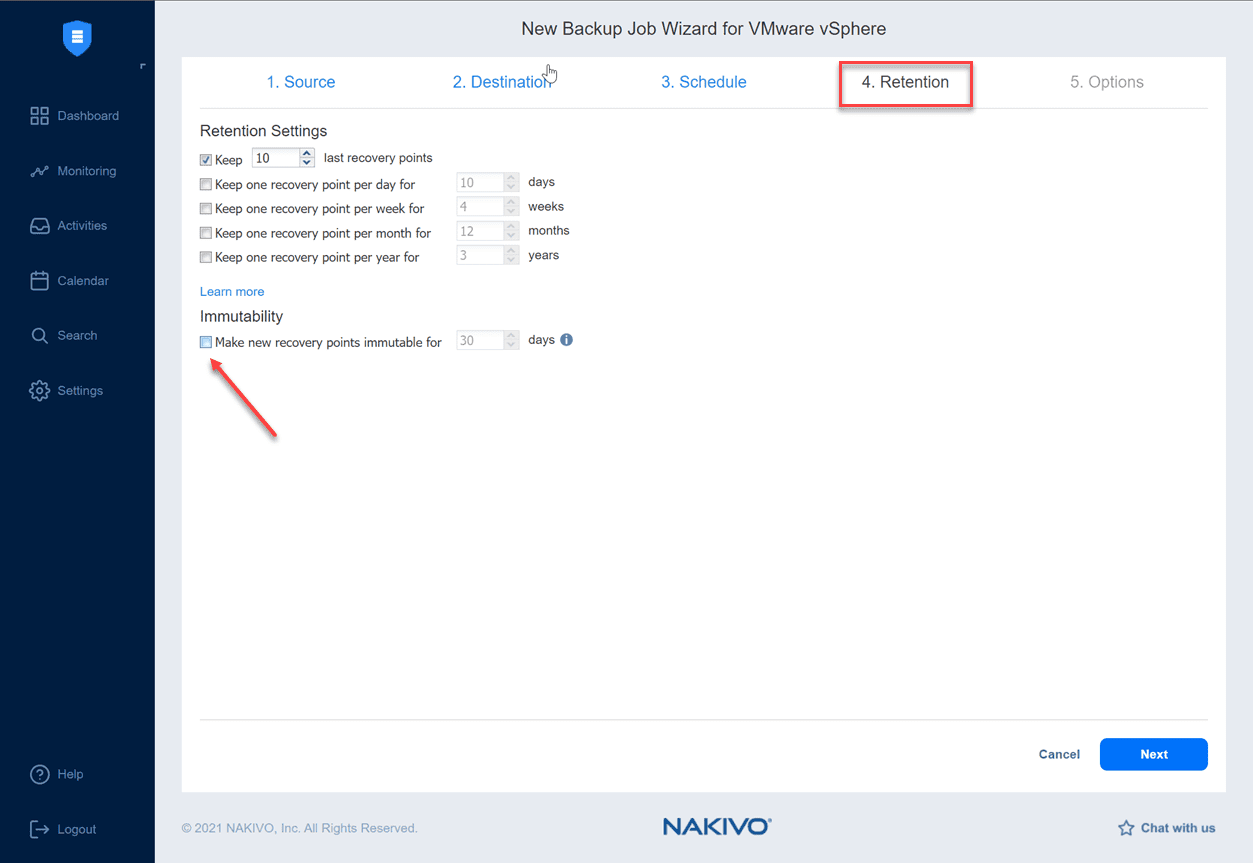
I want to point out on the Retention screen the Immutability check box. With Immutability, you have a great degree of ransomware protection which is awesome. Immutability basically denies any changes (writes, deletes, etc) for the period specified.
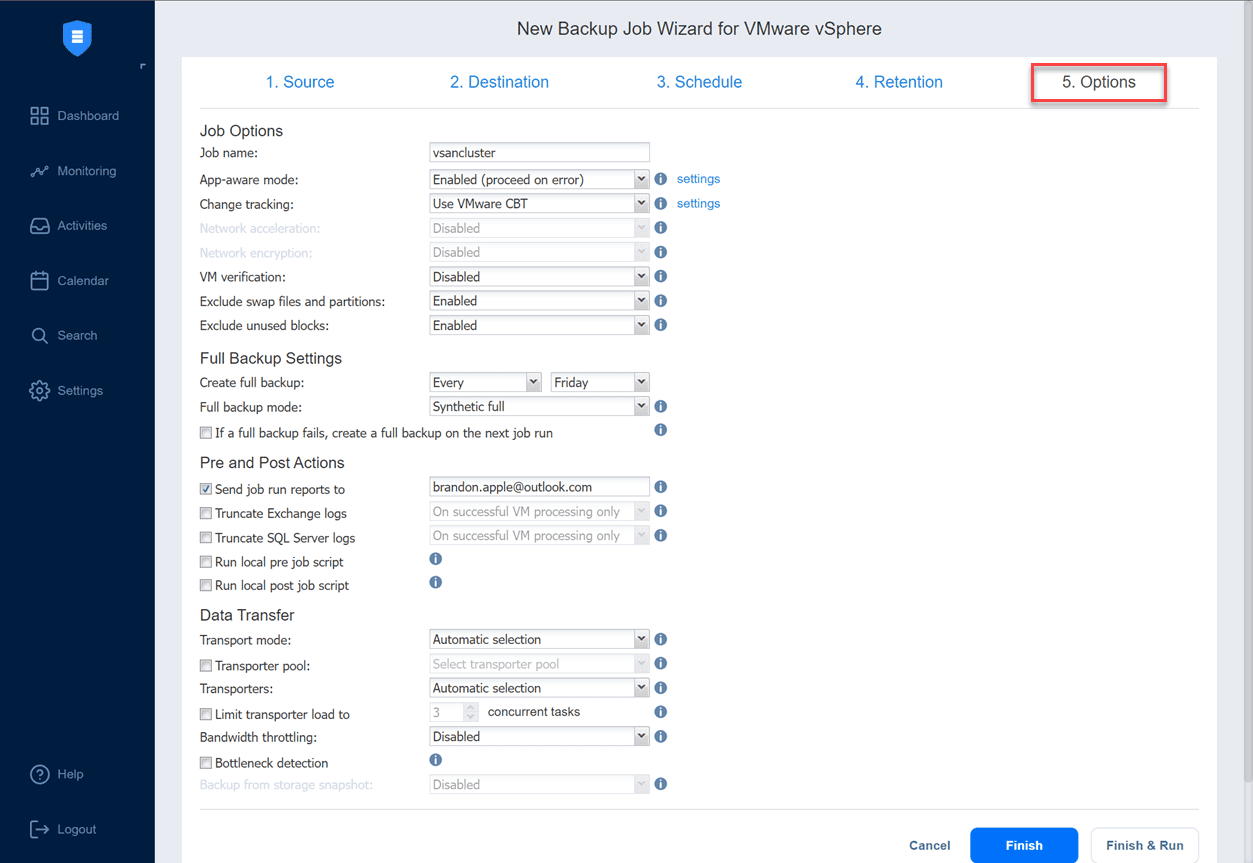
Configure the backup options. There are many options on the backup options screen for review. On this page you can:
- Configure change tracking options
- VM verification
- Exclude swap files
- Full backup settings and mode
- Pre and post actions
- Data transfer type and bandwidth limiting, etc
After finishing configuring the backup options, you can click the Finish or Finish & Run buttons to save the backup or save the backup & run it immediately afterwards.
I clicked Finish & Run, so the job kicks off. I was able to get great throughput on the backup job from the vSphere environment during the overall process.
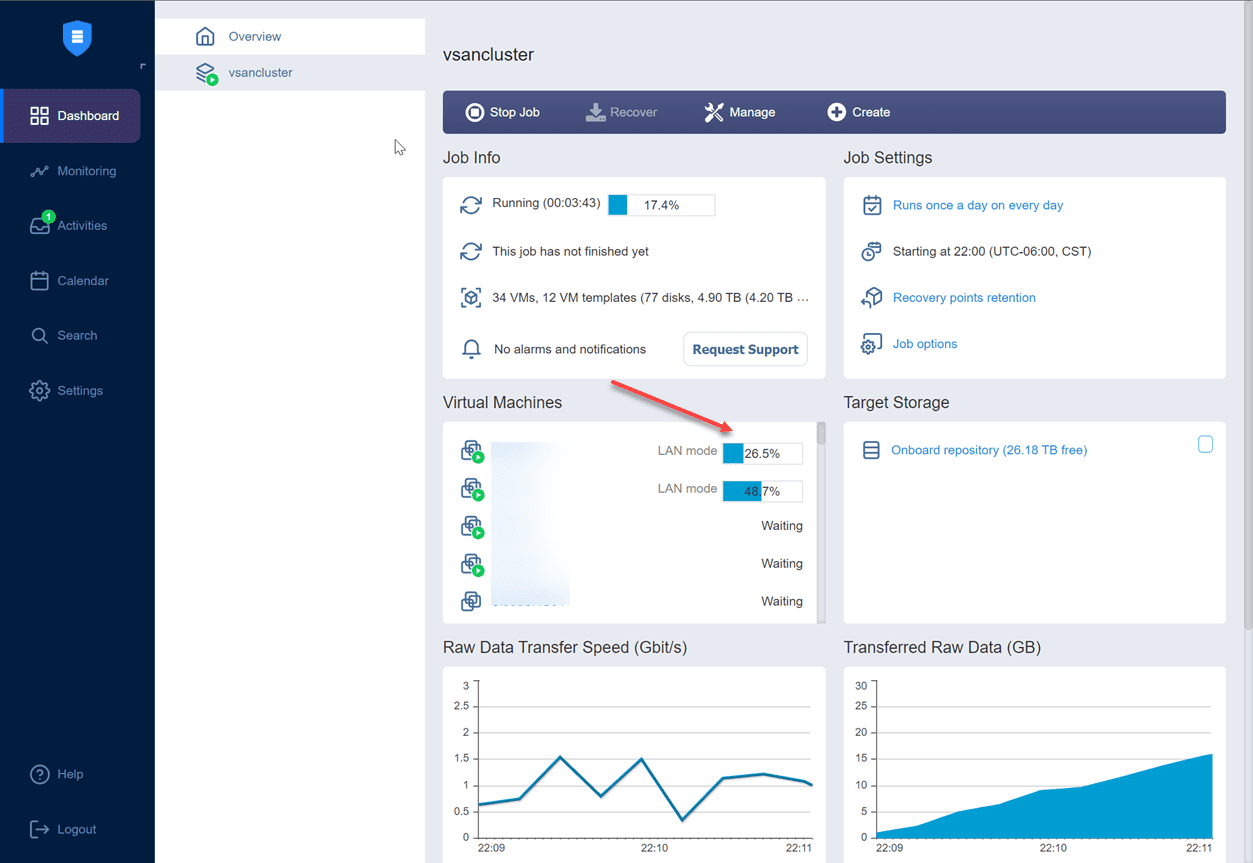
One of the things I noticed that is really great is the deduplication and compression NAKIVO gives on the Synology NAS device. My allocated storage between my three clusters is as follows:
- vsancluster – 4.20 TB allocated
- cluster1 – 698.8 GB allocated
- cluster2– 347.3 GB allocated
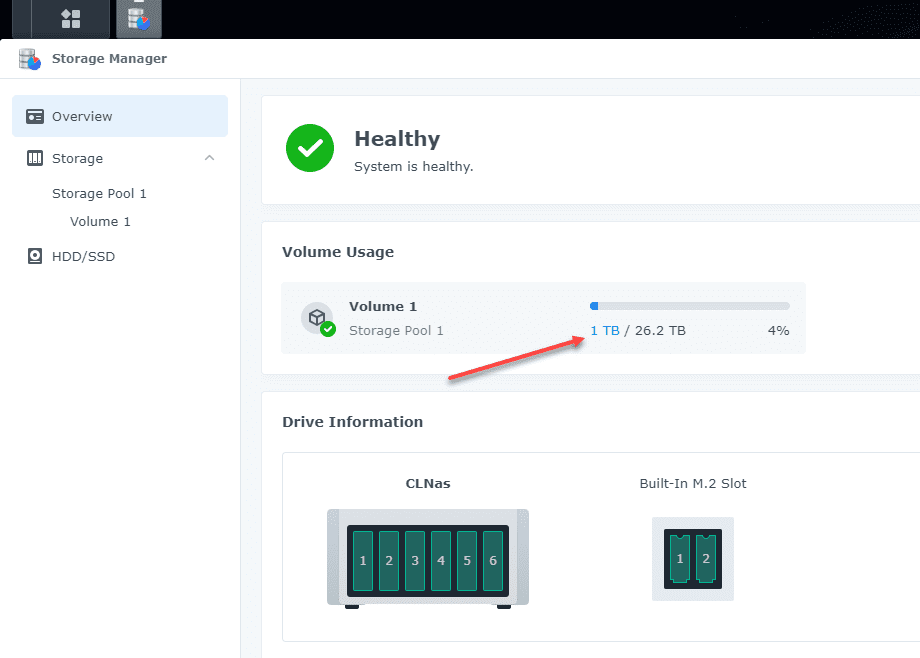
The total allocated space in the vSphere environment is 5.24 TB. Note the on-disk size of the NAKIVO repository (1 TB). Since this is the only thing I currently have on the NAS, there is no other data skewing the storage space below. This means I am getting roughly 5 to 1 compression which is great.
A great ransomware protected backup solution
The NAKIVO Backup Synology App is a great way to quickly and easily provide a backup solution that is resilient to ransomware and other types of attacks. I really like the idea of running a backup solution that is outside your production infrastructure for many reasons. With the NAS (backup in a box), you get a fully contained backup solution that runs outside of your production environment and has no dependencies on that infrastructure. It allows simply dropping a pre-loaded NAS into an environment, ready to go, and start backing up immediately. The NAS architecture and the way you can architect network connections to your environment from the NAS allows protecting management and storage from ransomware more effectively. NAKIVO’s immutability flag allows denying any changes to the data storage and backups, further protecting from ransomware. NAKIVO also provides 2-factor authentication and so does Synology. So you can further protect access to your business-critical backups.
Check out NAKIVO Backup & Replication here: https://www.nakivo.com/


0 Comments