
Microk8s is one of the easiest forms of Kubernetes you can spin up in an environment as it only requires a few commands to spin up a cluster. It includes the ability to spin up single-node clusters. It also has easy ways built-in to enable such things as a Load Balancer and ingress controller. Let’s take a look and see how to enable the Traefik ingress controller in Microk8s and how this is configured.
What is Microk8s?
Microk8s is self-described by Canonical as “the easiest and fastest way to get Kubernetes up and running.” Microk8s allows easily enabling many of the common services in Kubernetes by a simple microk8s enable command.
No-ops platform
it is called a no-ops platform that provides self-healing high-availability, transactional over-the-air updates and security updates. It is not only a platform for development but also for business-critical workloads. You can use it to spin up nodes for CI/CD pipelines and other use cases.
It is a fully embedded Kubernetes platform that provides containerized solutions focusing on the applications that customers use and not the Kubernetes infrastructure itself.
Multi-platform and self-healing
You can run Microk8s on ARM or Intel machines, including Raspberry Pi devices. It is also a cloud-friendly distribution, allowing you to run across multiple clouds, including on-premises. You can easily deploy it on commodity off-the-shelf hardware.
Ingress controller – what is it?
What is a Kubernetes ingress controller? An ingress controller provides routing to your applications and allows exposing internal applications that are internal to the Kubernetes cluster so you don’t have to have external IP addresses for each application in the Kubernetes cluster. You can instead expose the service based on the service’s hostname, and the traffic is routed appropriately.
The ingress controller uses the ingress meta
Microk8s ingress controller
The Microk8s ingress controller is easily installed and configured. Using the Microk8s enable ingress controller command, you can spin up the default Nginx ingress controller built into the solution.
Note the following:
With the Ingress addon enabled, you are enabling a HTTP/HTTPS ingress rule for creation with an Ingress resource.
the ingress addon can be configured to expose TCP and UDP services by editing the nginx-ingress-TCP-microk8s-conf and nginx-ingress-UDP-microk8s-conf ConfigMaps respectively and then exposing the port in the Ingress controller.
Note the example below:
apiVersion: networking.k8s.io/v1
kind: Ingress
metadata:
  name: http-ingress
spec:
  rules:
  - http:
      paths:
      - path: /
        pathType: Prefix
        backend:
          service:
            name: some-service
            port:
              number: 80
Other examples of the Nginx ingress microk8s controller allow you to define an ingress namespace and name Nginx ingress microk8s.
You can create ingresses for the HTTP protocol and HTTPS protocol for your ingress controllers based on your deployment metadata.
Installing a Microk8s Kubernetes cluster
Let’s see how we can quickly provision a Microk8s Kubernetes cluster:
sudo snap install microk8s --classic
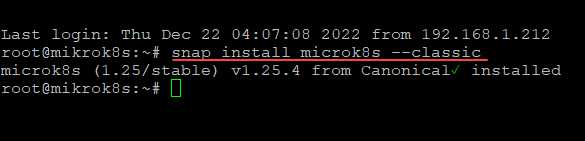
It’s that simple. Once you let the command run, you will have a functioning Microk8s cluster.
Installing MetalLB Load Balancer
One of the first things we need to do before we install the Traefik ingress controller is install MetalLB load balancer. Installing MetalLB in Microk8s is extremely easy and can be accomplished using a one line command below. Remember to replace the IPs shown below with your own IPs as they need configured for your environment.
microk8s enable metallb:10.1.149.105-10.1.149.109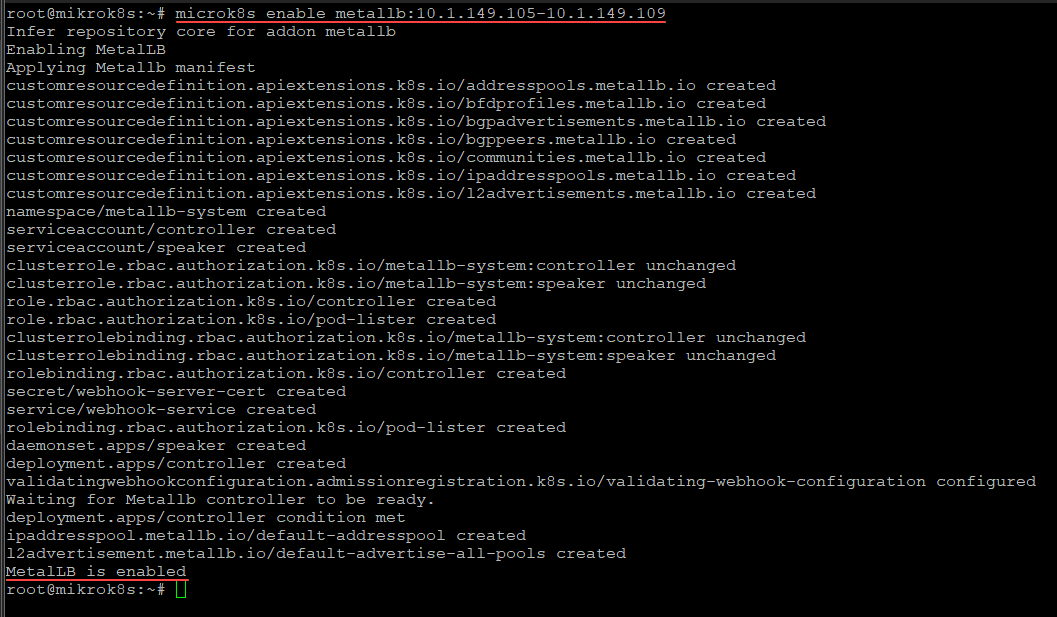
Enabling Traefik ingress controller in Microk8s
I like the Traefik ingress controller better than nginx ingress controller for my Kubernetes clusters. So, this is the ingress controller I will activate in the solution. How can we do this?
There are just a couple of commands to enable Traefik as the Microk8s enable ingress controller.
microk8s enable community

microk8s enable traefik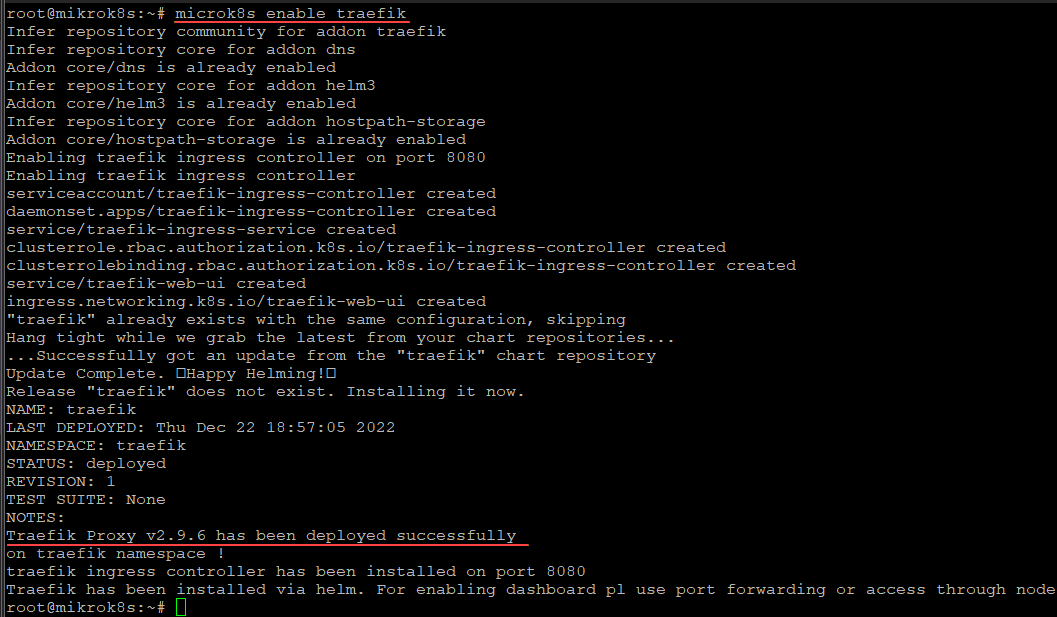
We can see the Traefik pod has grabbed an IP address from the MetalLB Load balancer.

Enable the Traefik ingress controller dashboard
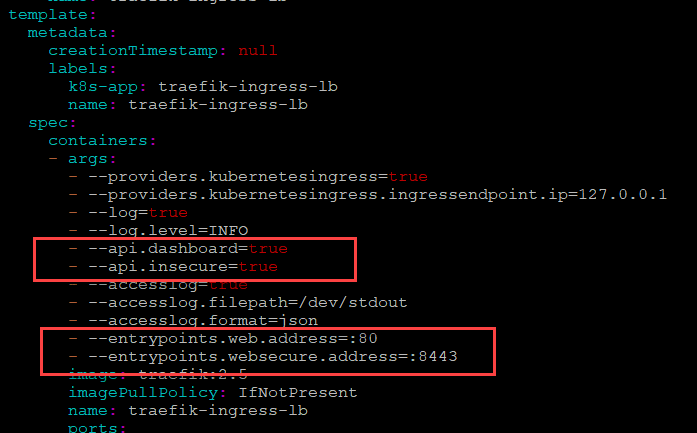
We need to make a change to enable the Traefik dashboard in Microk8s kubectl by editing the daemon set. Run this command:
microk8s kubectl edit ds traefik-ingress-controller -n traefikAdd the two lines shown below and then change the ports in the entrypoints listed for the websecure.address and web.address.
Navigating to the Microk8s ingress controller dashboard of Traefik
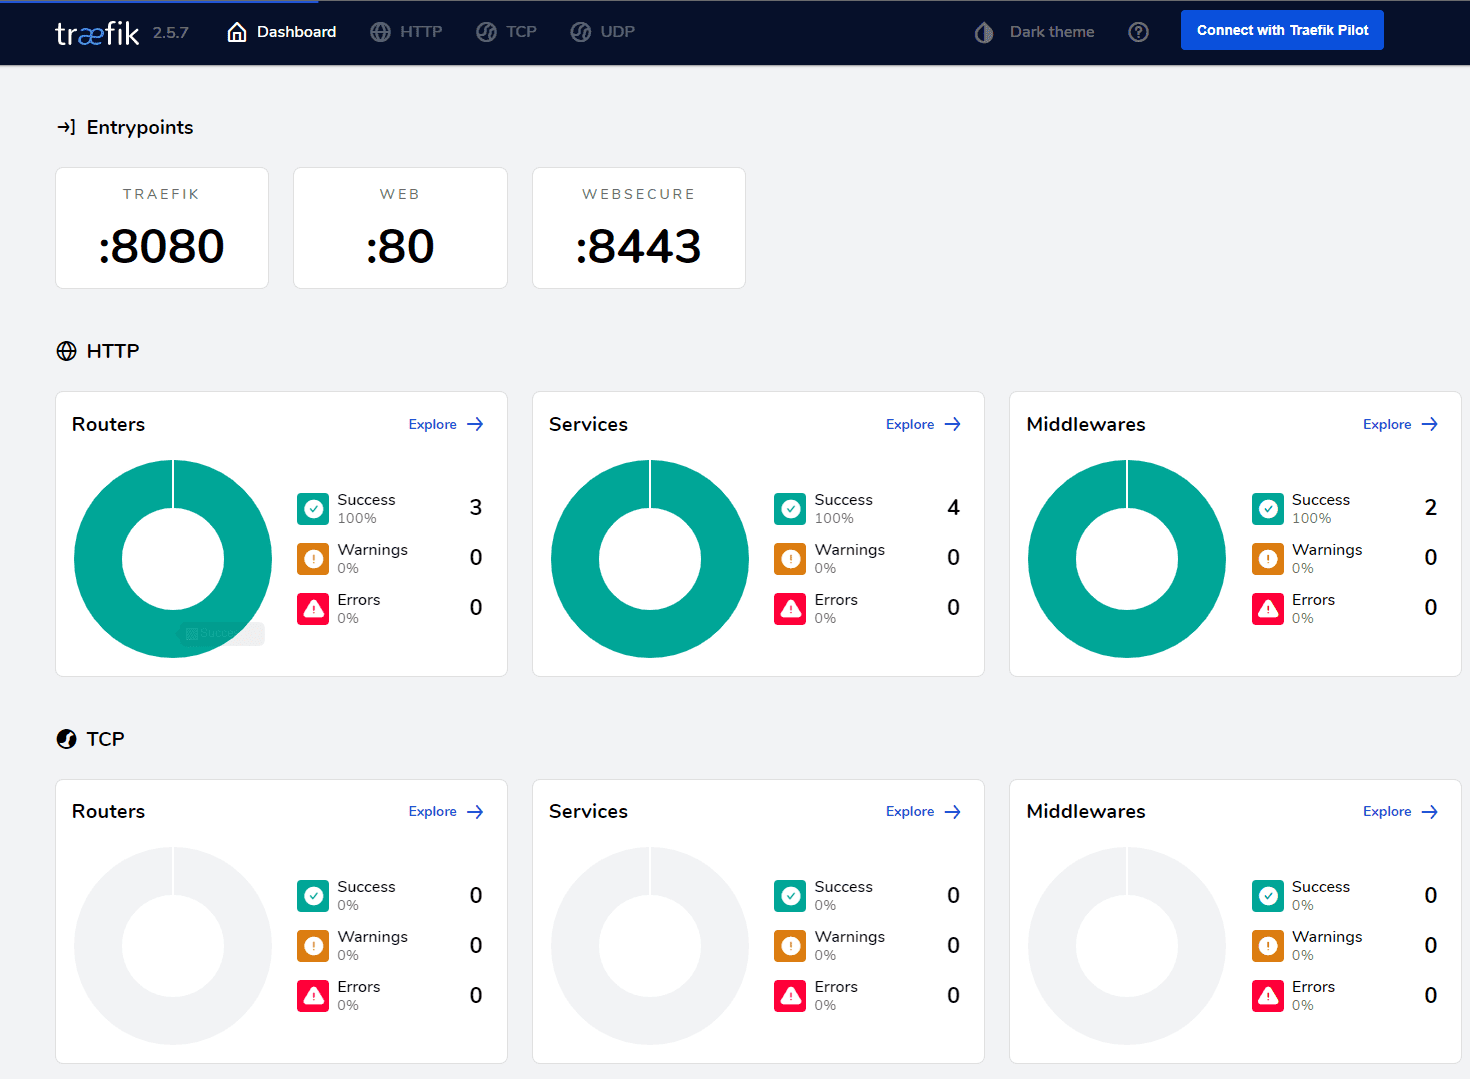
Now that we have edited the daemon set and added the configuration needed to expose the Traefik dashboard in Microk8s kubectl, we can navigate out to the Traefik dashboard using the IP address configured from MetalLB.
Once we have the configuration in place, we can navigate out to the Traefik dashboard showing the ingress controller routes and other configurations. We can view the HTTP request routing service metadata, etc.
Microk8s ingress controller FAQs
What ingress controller is Microk8s? – Microk8s has a built-in ingress controller with the Nginx ingress controller. It also has an easy way to install Traefik without pulling down and configuring custom files yourself. To get the dashboard installed, we do have to modify the daemon set, but that’s it.
What is Microk8s? It is a small, lightweight, and easy-to-use Kubernetes distribution that can be installed in under a minute in most environments. Once you have it installed, you can easily install additional components using the Microk8s enable command to add additional components like an ingress controller.
What is Traefik? Traefik is a free and open source ingress controller that provides many great features and capabilities, including a dashboard for visualizing your ingress metadata and routing.
Wrapping Up
Hopefully, this quick tutorial on how to stand up Microk8s and a Microk8s ingress controller will help any who want to play around with this functionality in their home lab or even spin this up in production environments, on-premises.


0 Comments