
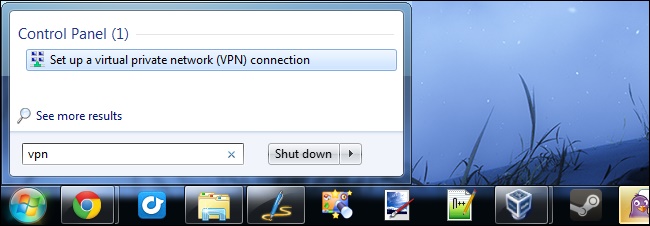
1. Firstly, go to the Start menu on your system and look for “VPN”. You will automatically get an option to Setup a Virtual Private Network (VPN) connection. Though, you can also access this Wizard from Control Panel > Network Settings.
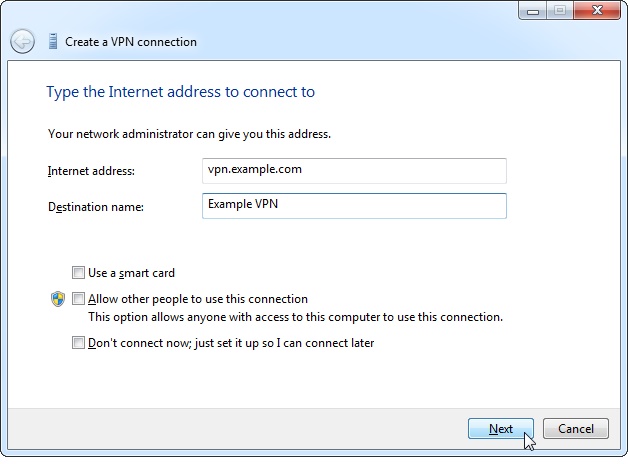
2. This will launch a new wizard to set up a VPN. Firstly, you need to provide an Internet Address to connect to. This would be an IP address or a web address as well. Also, you can give it a destination name. While the destination name could be anything, you have to be specific with the VPN address.
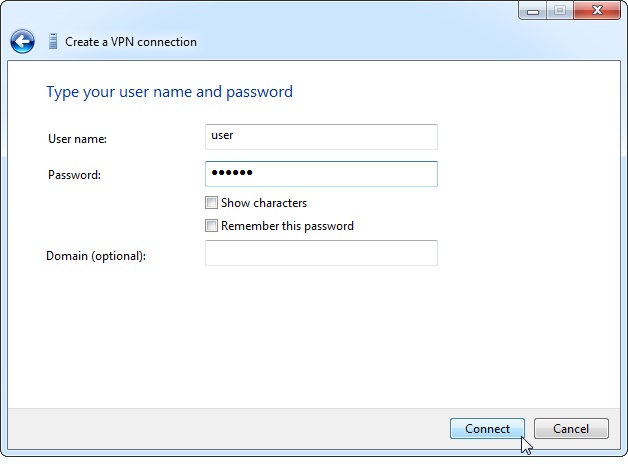
3. On the next window, you have to provide the username and password for your VPN connection. This would be given by the Windows 7 VPN server that you are using. You can also provide an optional domain name before clicking on the “Connect” button.
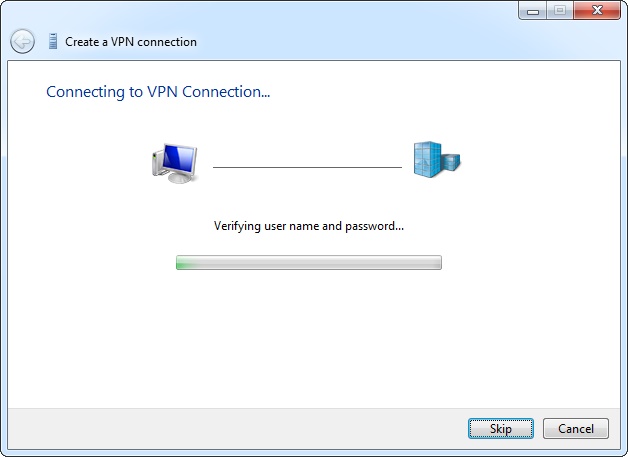
4. As soon as you would click on the “Connect” button, Windows will automatically start connecting your system to the specific VPN server.
5. Once the VPN Windows 7 is connected, you can view it from the available network options on the Taskbar. From here, you can disconnect it as well.

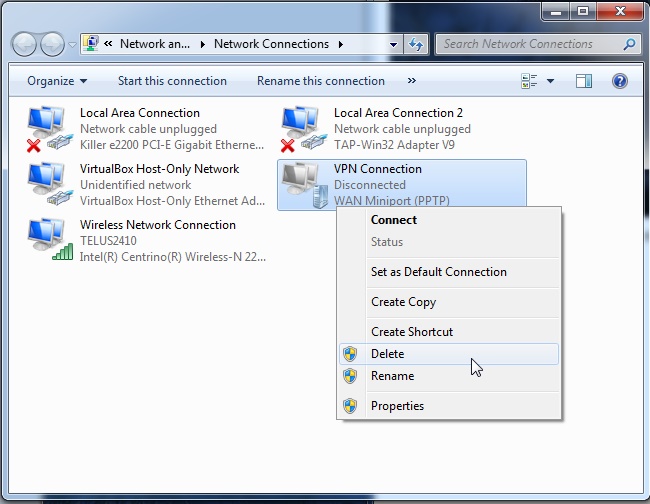
6. If you want to permanently delete the VPN, then go to the Network Connections, select the VPN and click on the “Delete” button.


1 Comments
Looking great work dear. I'm happy to read your blog, really appreciated this quality work. Thanks for sharing. If you want to know about Orbi Router Setup you can visit her
ReplyDelete