
Malwarebytes is one of the best tried and true products out there that is able to easily scan and clean infected computers that have picked up the latest variant of spyware or malware. We wanted to post a quick tutorial about installing and running Malwarebytes to give a user an idea of how to use this excellent tool to remove infects from their pcs.
Download and Installation:
First things first, we need to grab the latest version of Malwarebytes from their website: https://www.malwarebytes.org
Just click the Download Now link and pull the latest executable. The install is very straightforward and anyone with even a small amount of knowledge about how to install software will be able to next through the wizard and get the program up and running.
Pulling the file down:
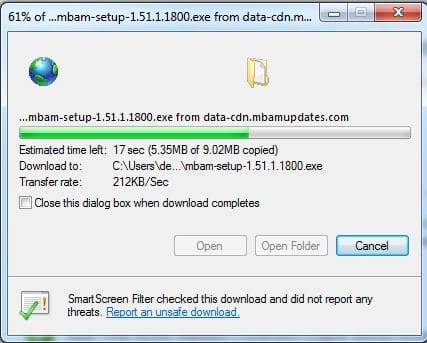
After the download is complete, we simply execute the install program to start the wizard. Language choice is first:

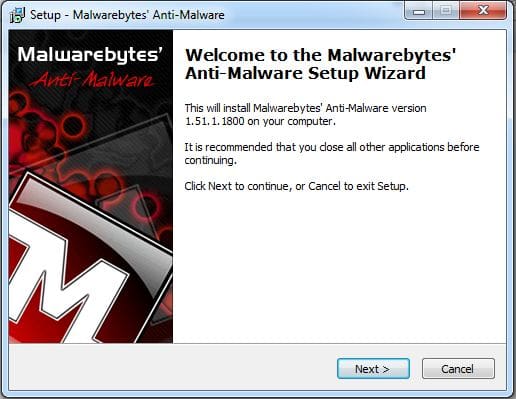
The wizard begins:
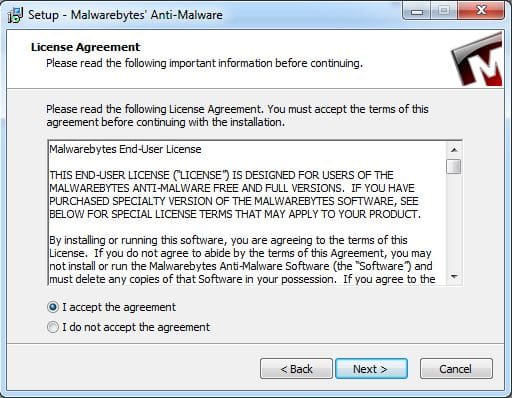
License Agreement:
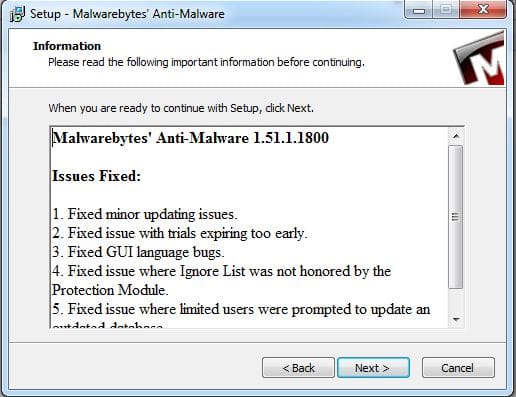
Version Information:
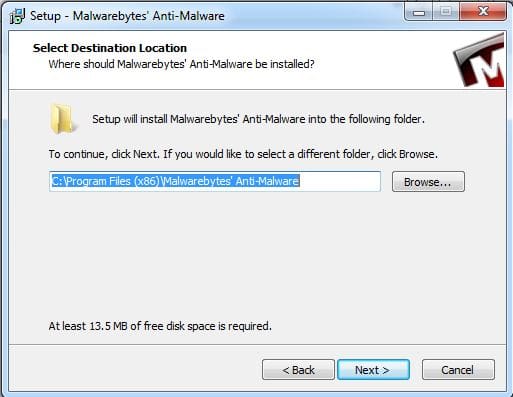
Install Location:
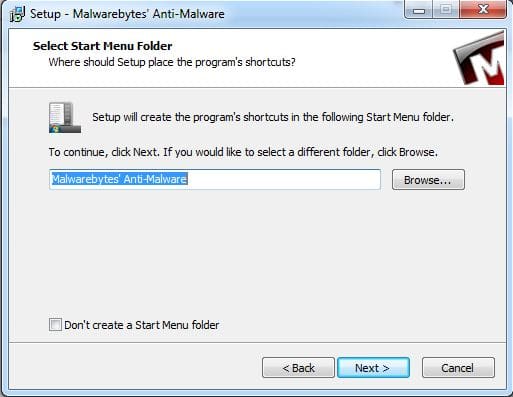
Program Group Name
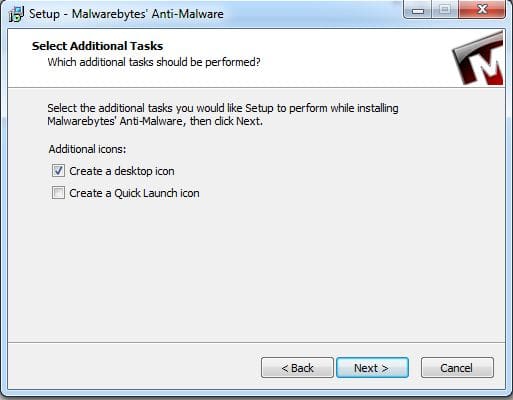
Select the additional tasks option – Lets you decide where program icons get placed:
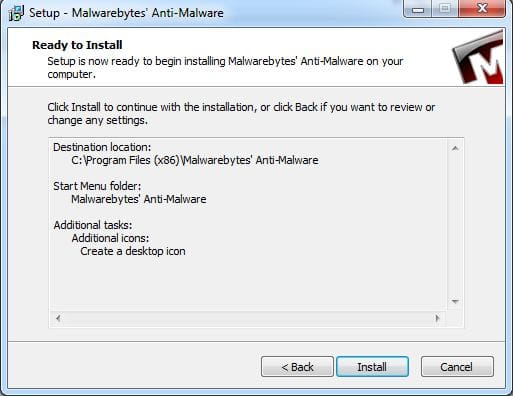
Installer is ready to begin:
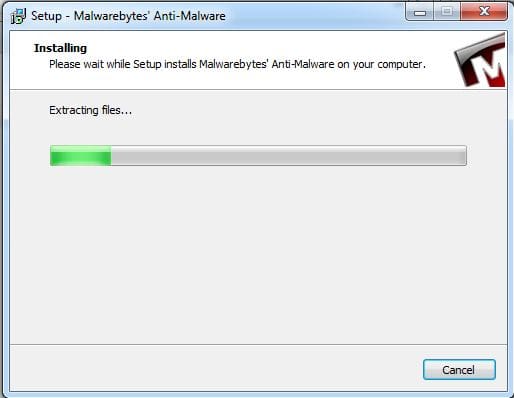
Files get extracted and the installer runs:
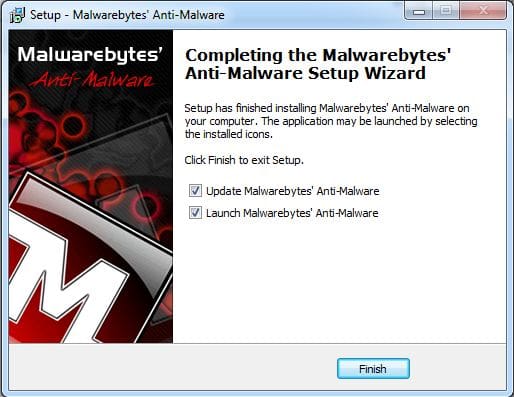
Installer finishes: ****Highly Important***** Be sure to select to update the program definitions
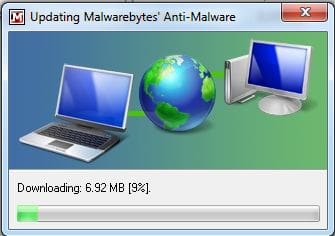
After selecting “Update Malwarebytes’ Anti-Malware the update process begins:
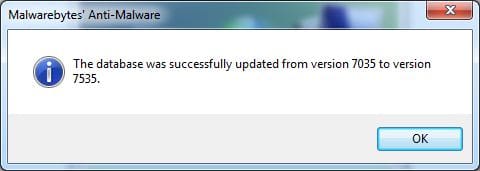
After the update finishes, Malwarebytes will display version update information:
Running Malwarebytes:
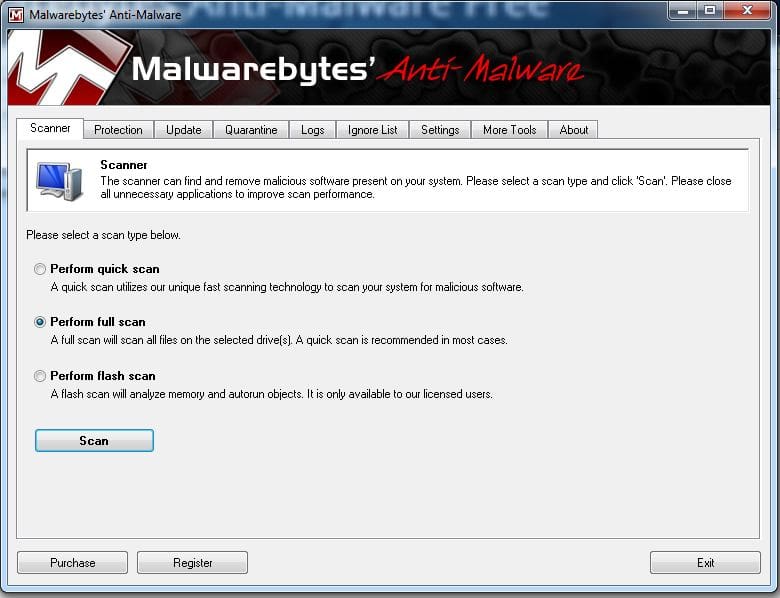
After installing the software and updating the definitions, we are now ready to run the program to look for Malware infections. Below is a screenshot of the actual program interface once installed and ready to go. We want to select “Perform full scan” to make sure we effectively target any possible malware locations:
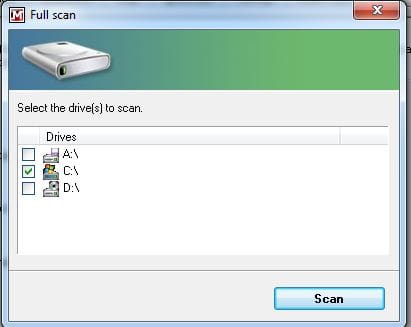
Select the drives you wish to scan. In most cases this will be the CDRIVE.
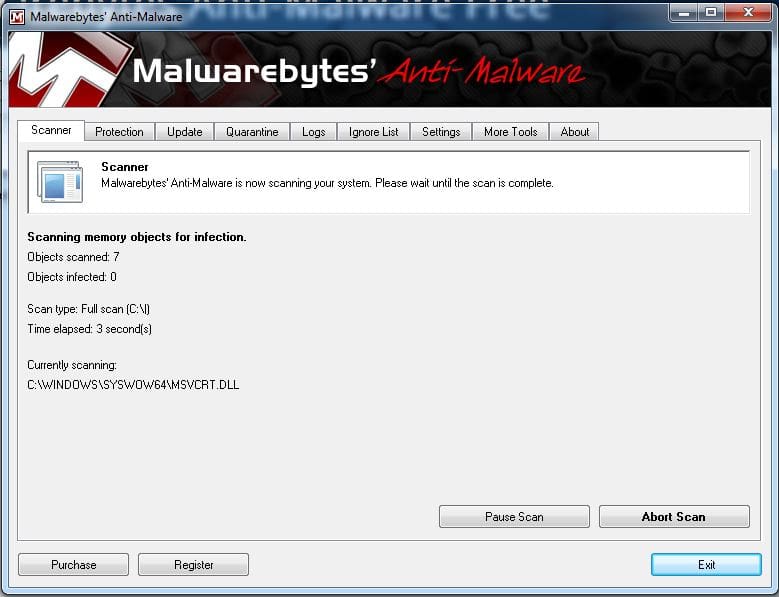
The scan begins:
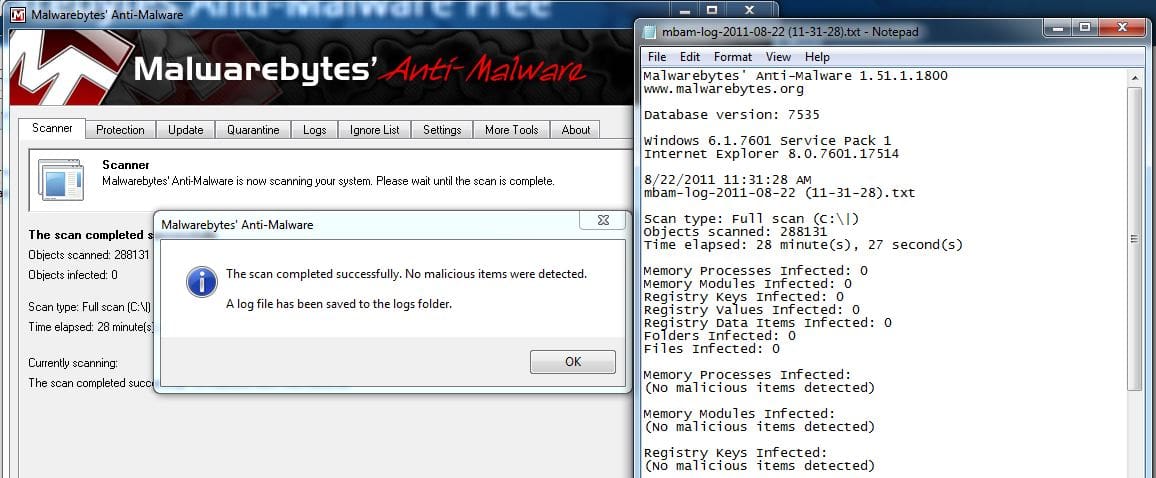
After the scan completes…..Malwarebytes will display the results of the scan. Note below we ran the scan on a newly provisioned workstation so no infections were found. However, on an infected workstation, you will be prompted at the end of the scan to remove the selected infected items.
Final Thoughts:
Malwarebytes is perhaps one if not the most popular malware infection removal utilities available and the best part is that it is a free install. Even in its “free version” it is a powerful tool to reclaim a malware infested pc. The install is painless and the interface is very easy to use and intuitive. Most home users would be able to save a costly visit to the local computer repair man by becoming familiar with this powerful little utility.


0 Comments